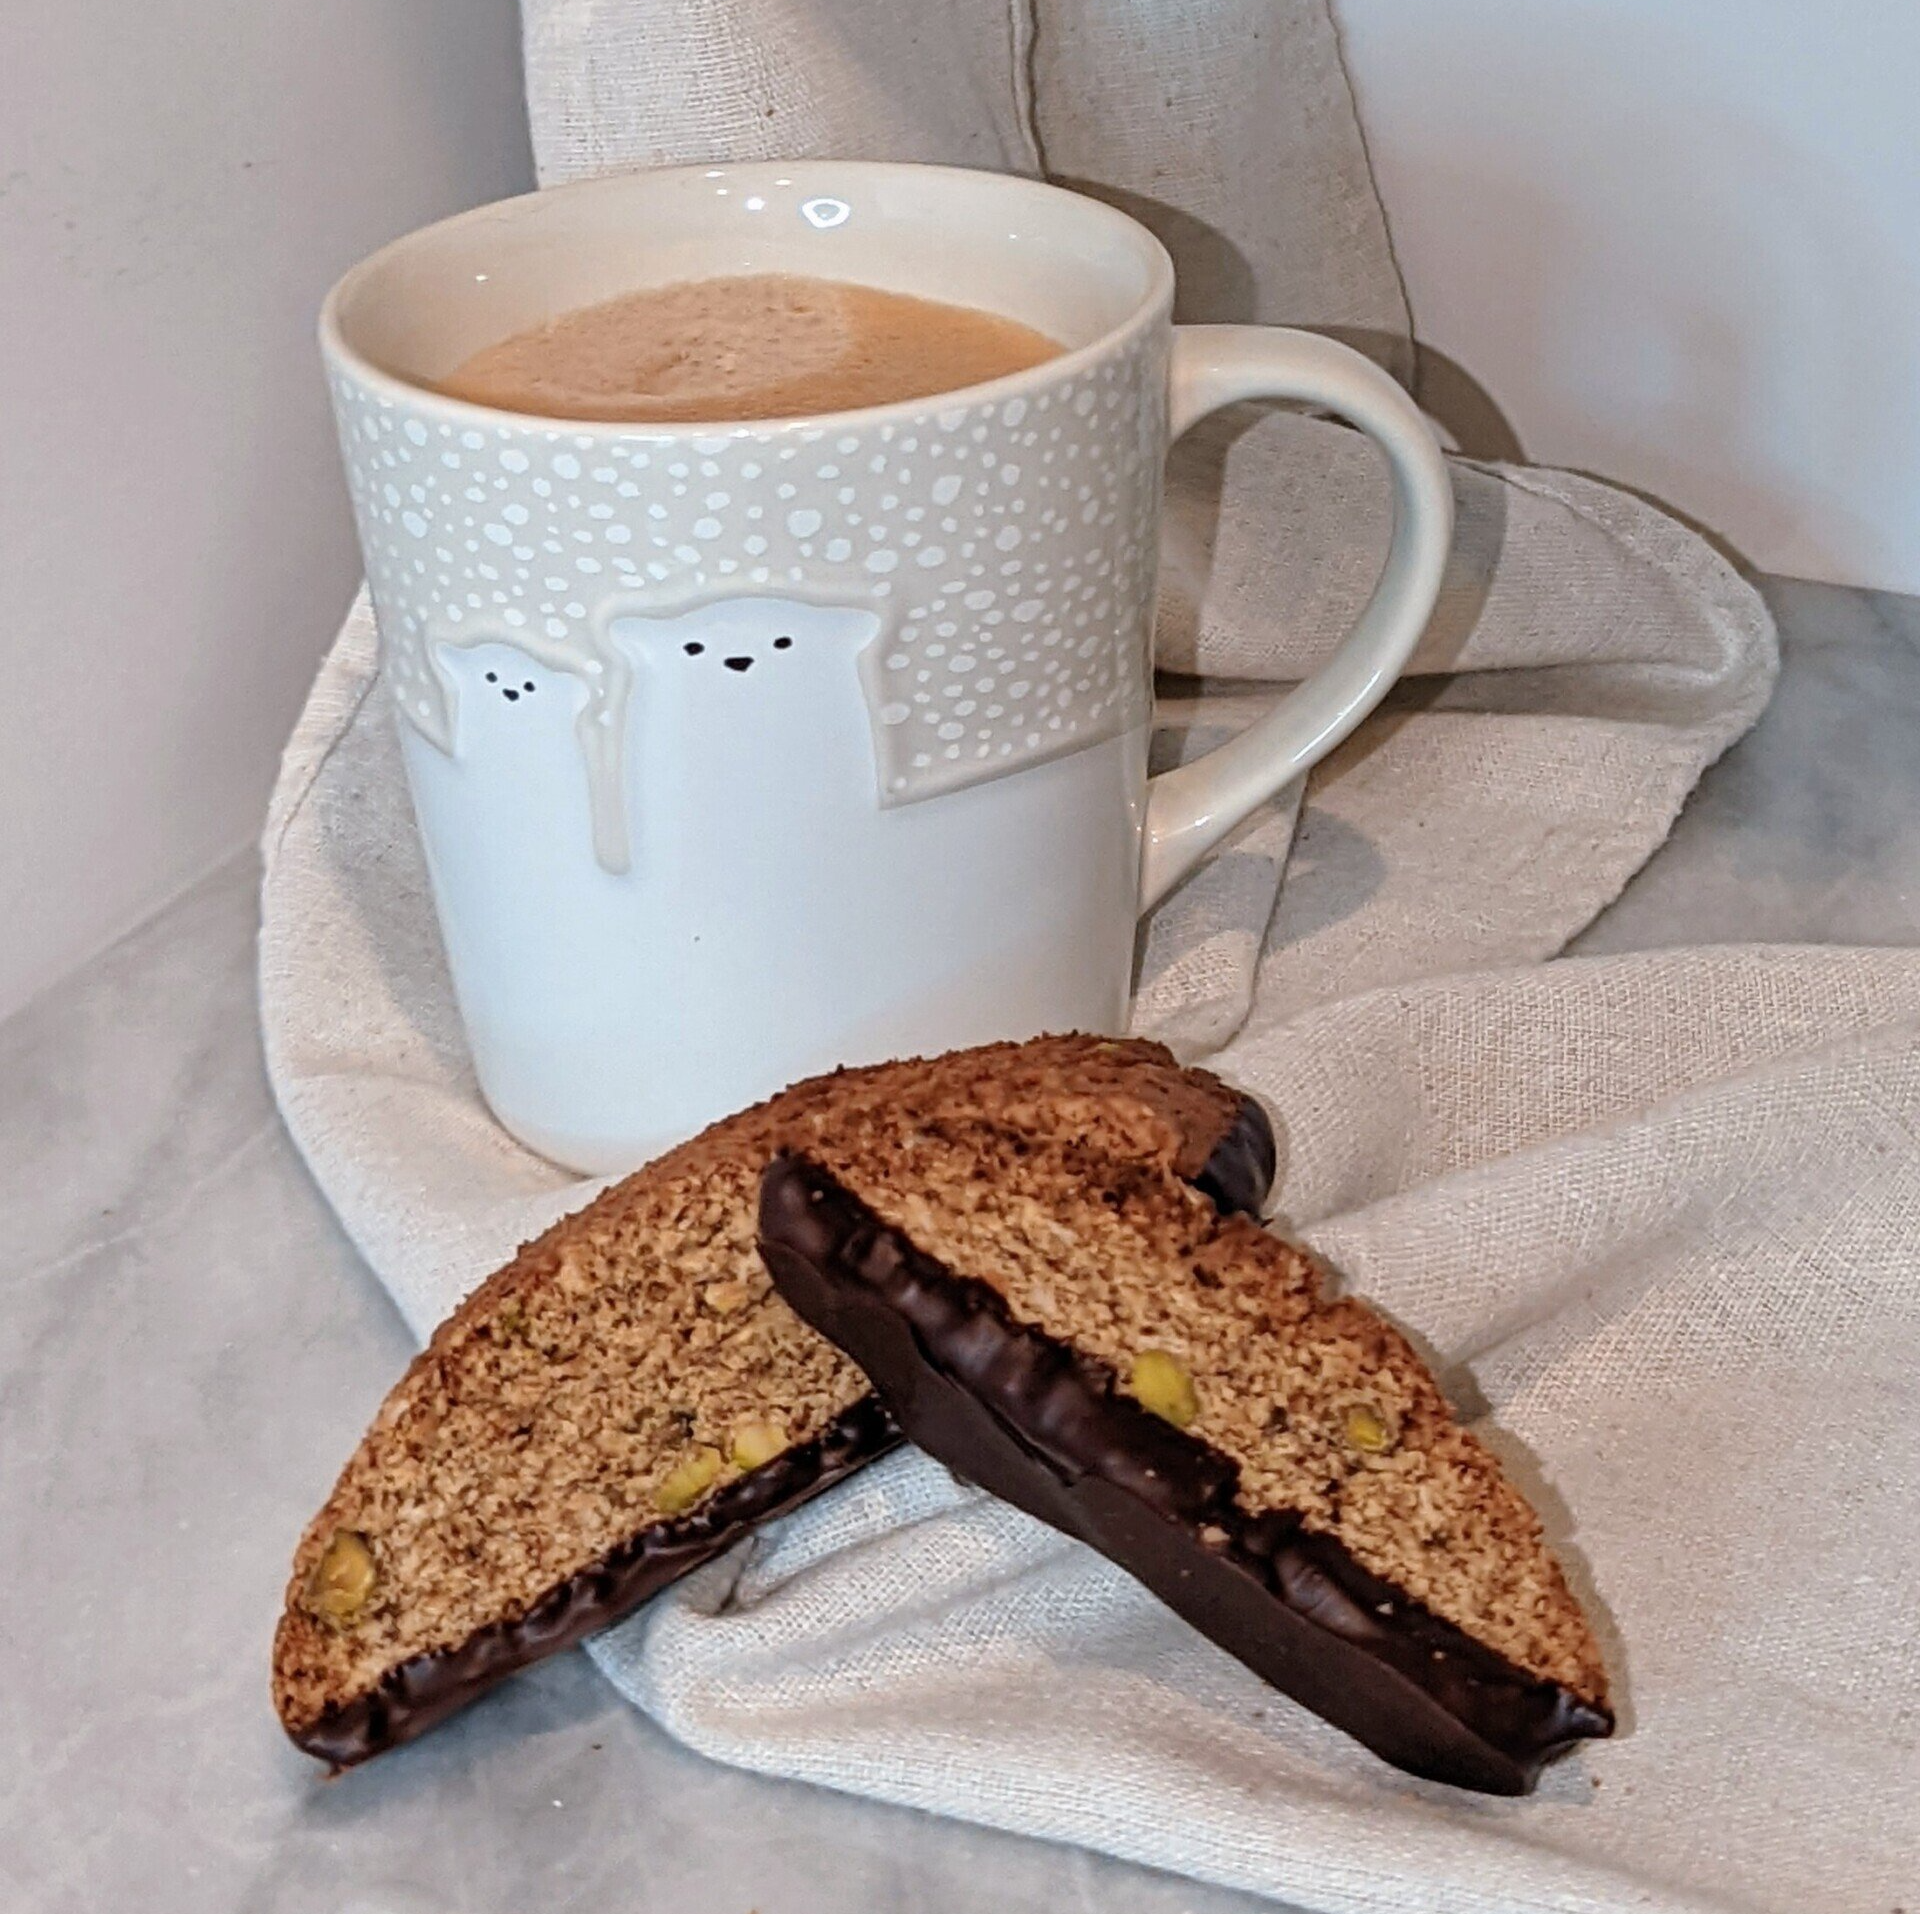
baking spirits bright-eyed with biscotti cookies
pairs (very) well with coffee :)
I'm still in denial that the holidays are over, hence the title.
Anyway, I am here to bring you a sweet little crunchy gluten-free treat to have with your morning coffee, mid-day pick-me-up, or decaf nightcap (and yes I partake in all 3 cups some days).
This yummy Italian pastry is a great way to sweeten up your morning, day, or night! It's delicious and made with healthy, clean ingredients.
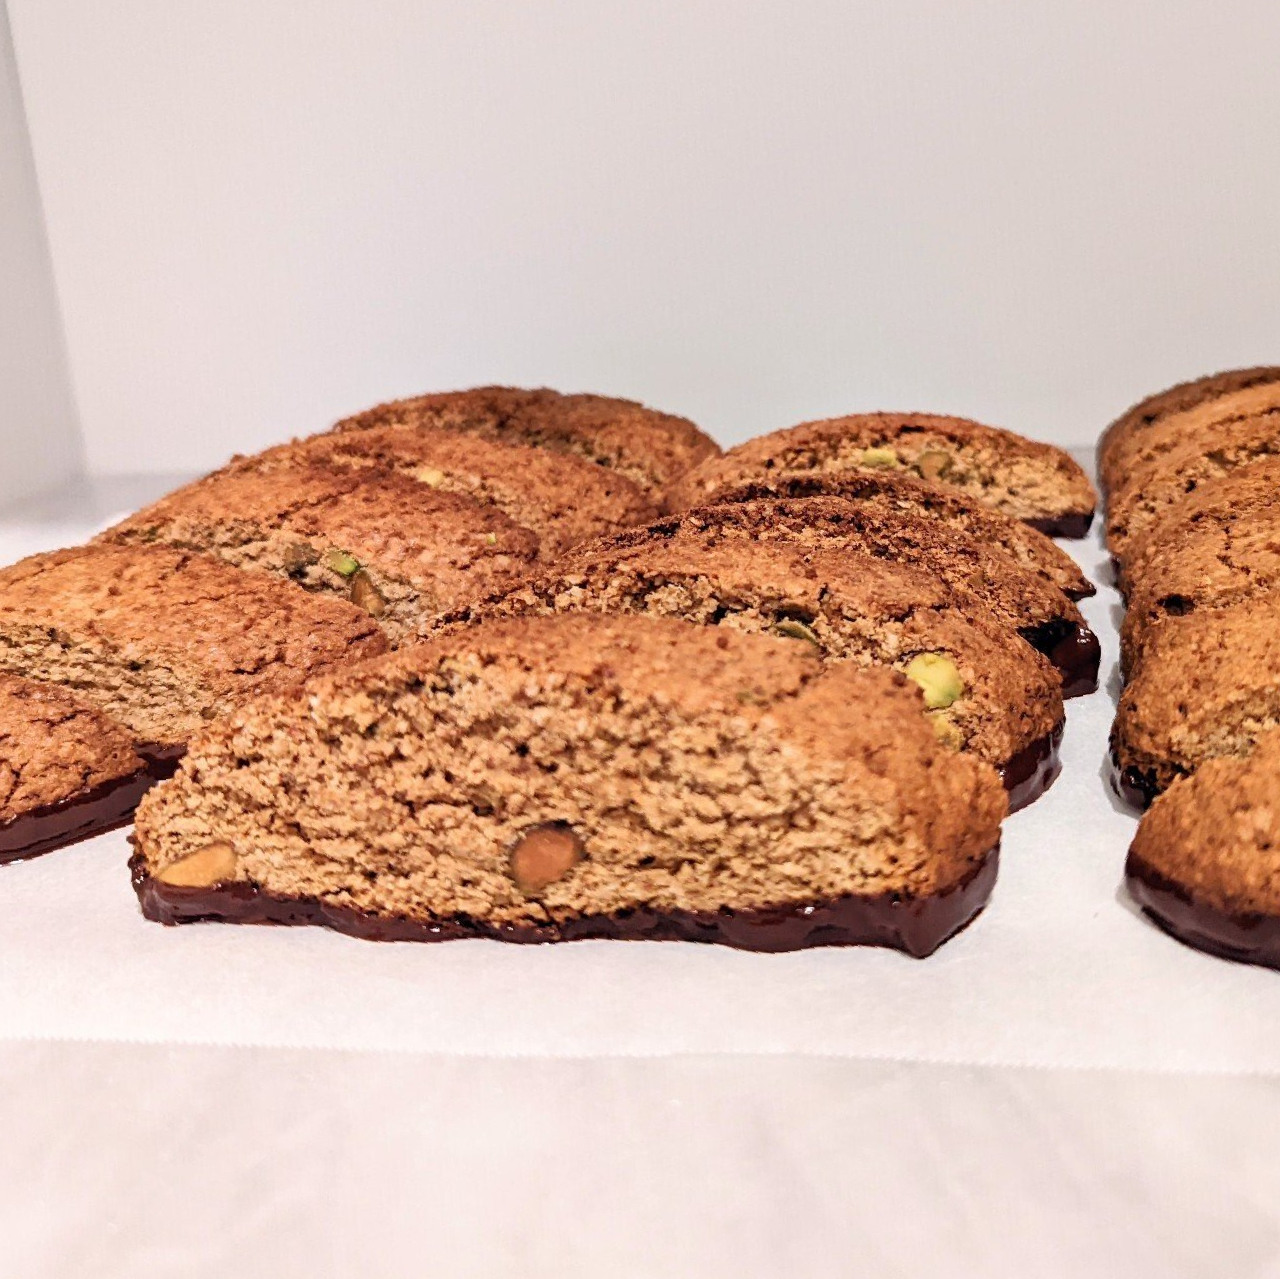
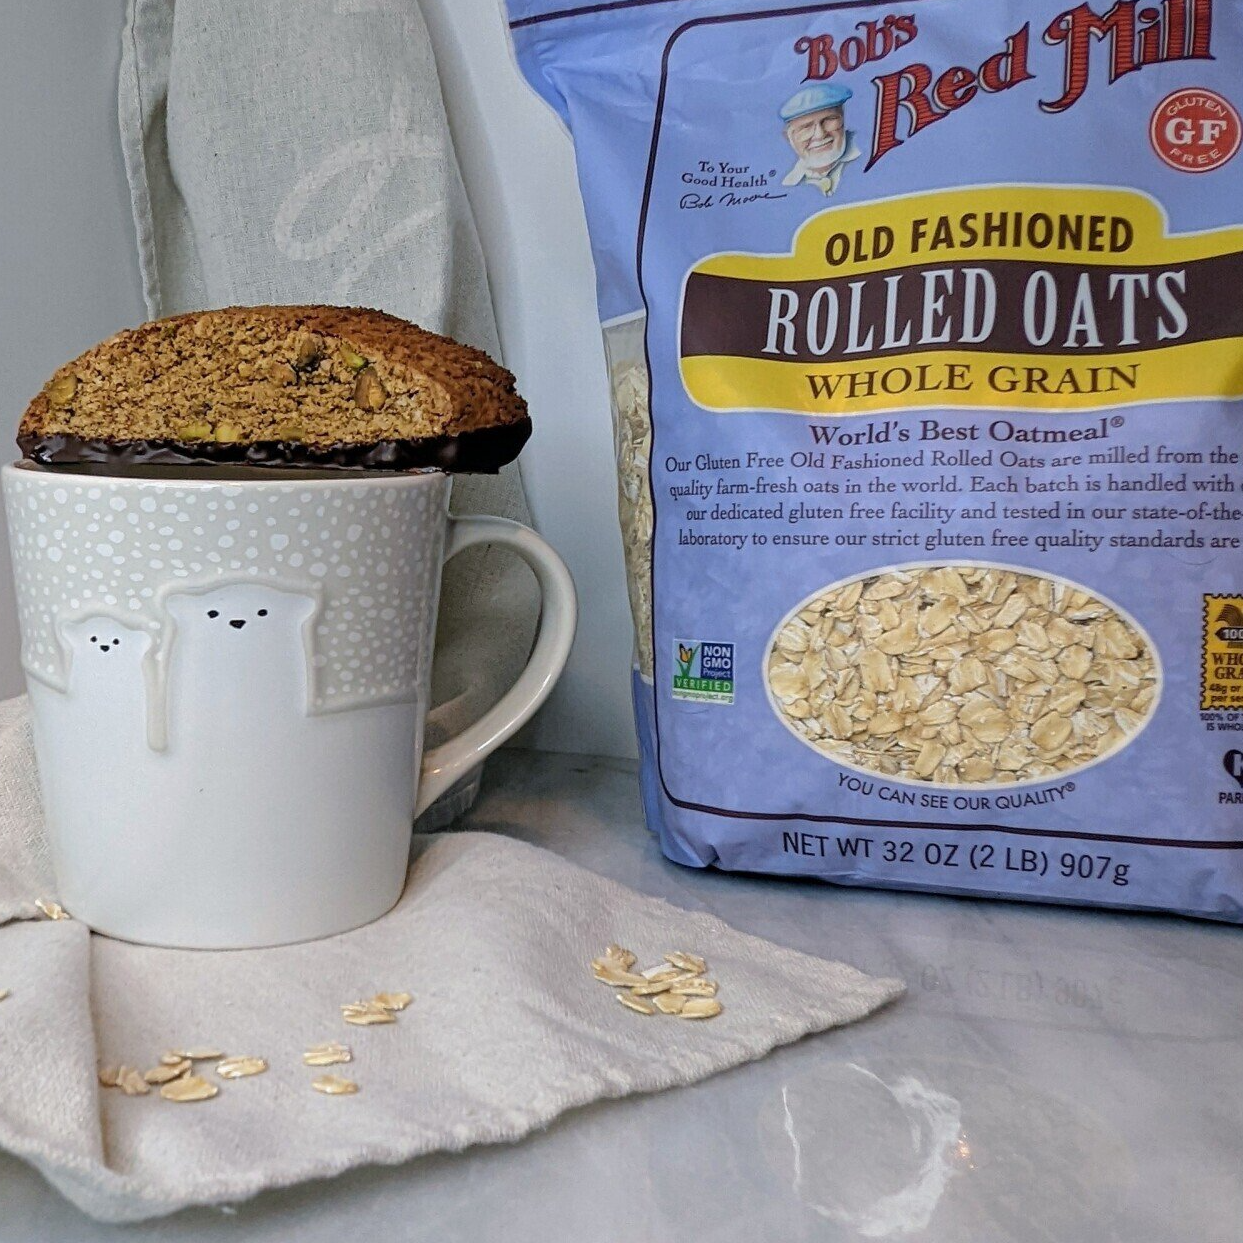
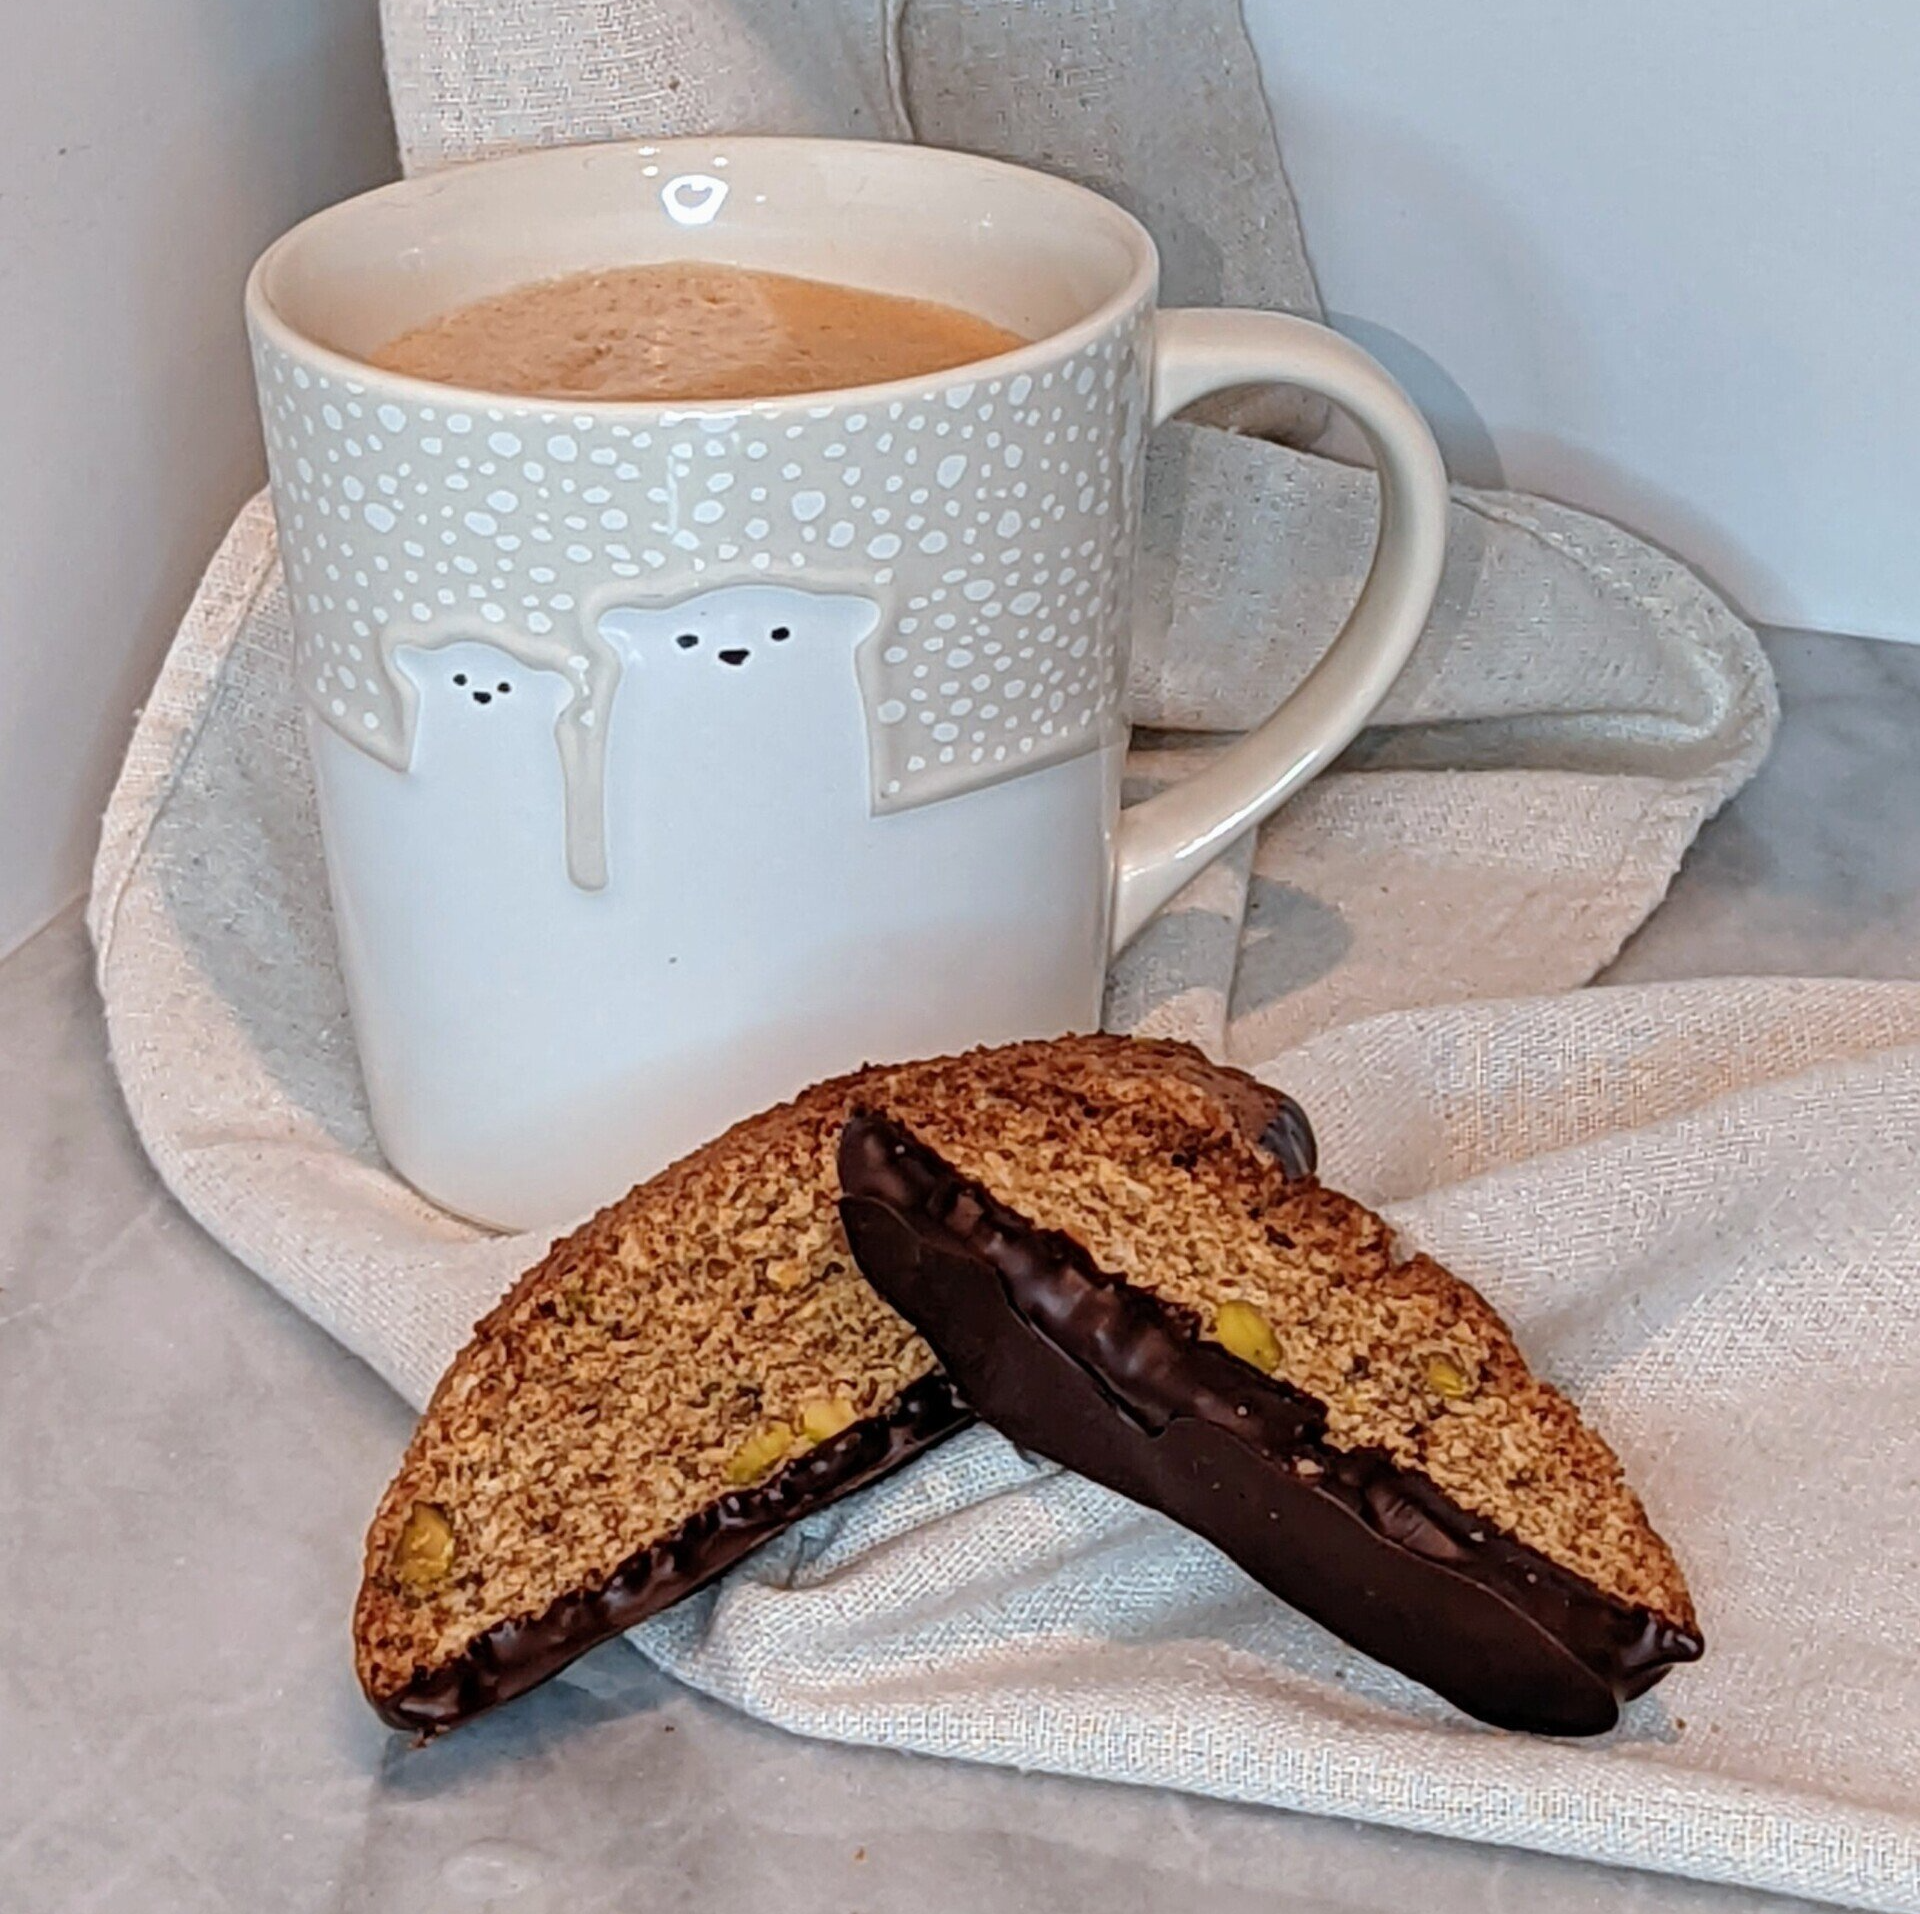
Bob's Red Mill is my go-to for ingredient alternatives that gut-happy (can I copyright that if it already hasn't been used?). Biscotti cookies are typically made with wheat flour, butter, and syrups. I've lightened up the recipe and made the biscottis easier for the stomach to digest. Bob's Red Mill rolled oats, almond flour, and tapioca flour make the dough and is sweetened with coconut sugar. My Pistachio-Almond Biscottis will look different from store-bought biscottis because I swapped out the wheat flour for ingredients that have a darker color and more texture.
But less talking and more cooking!
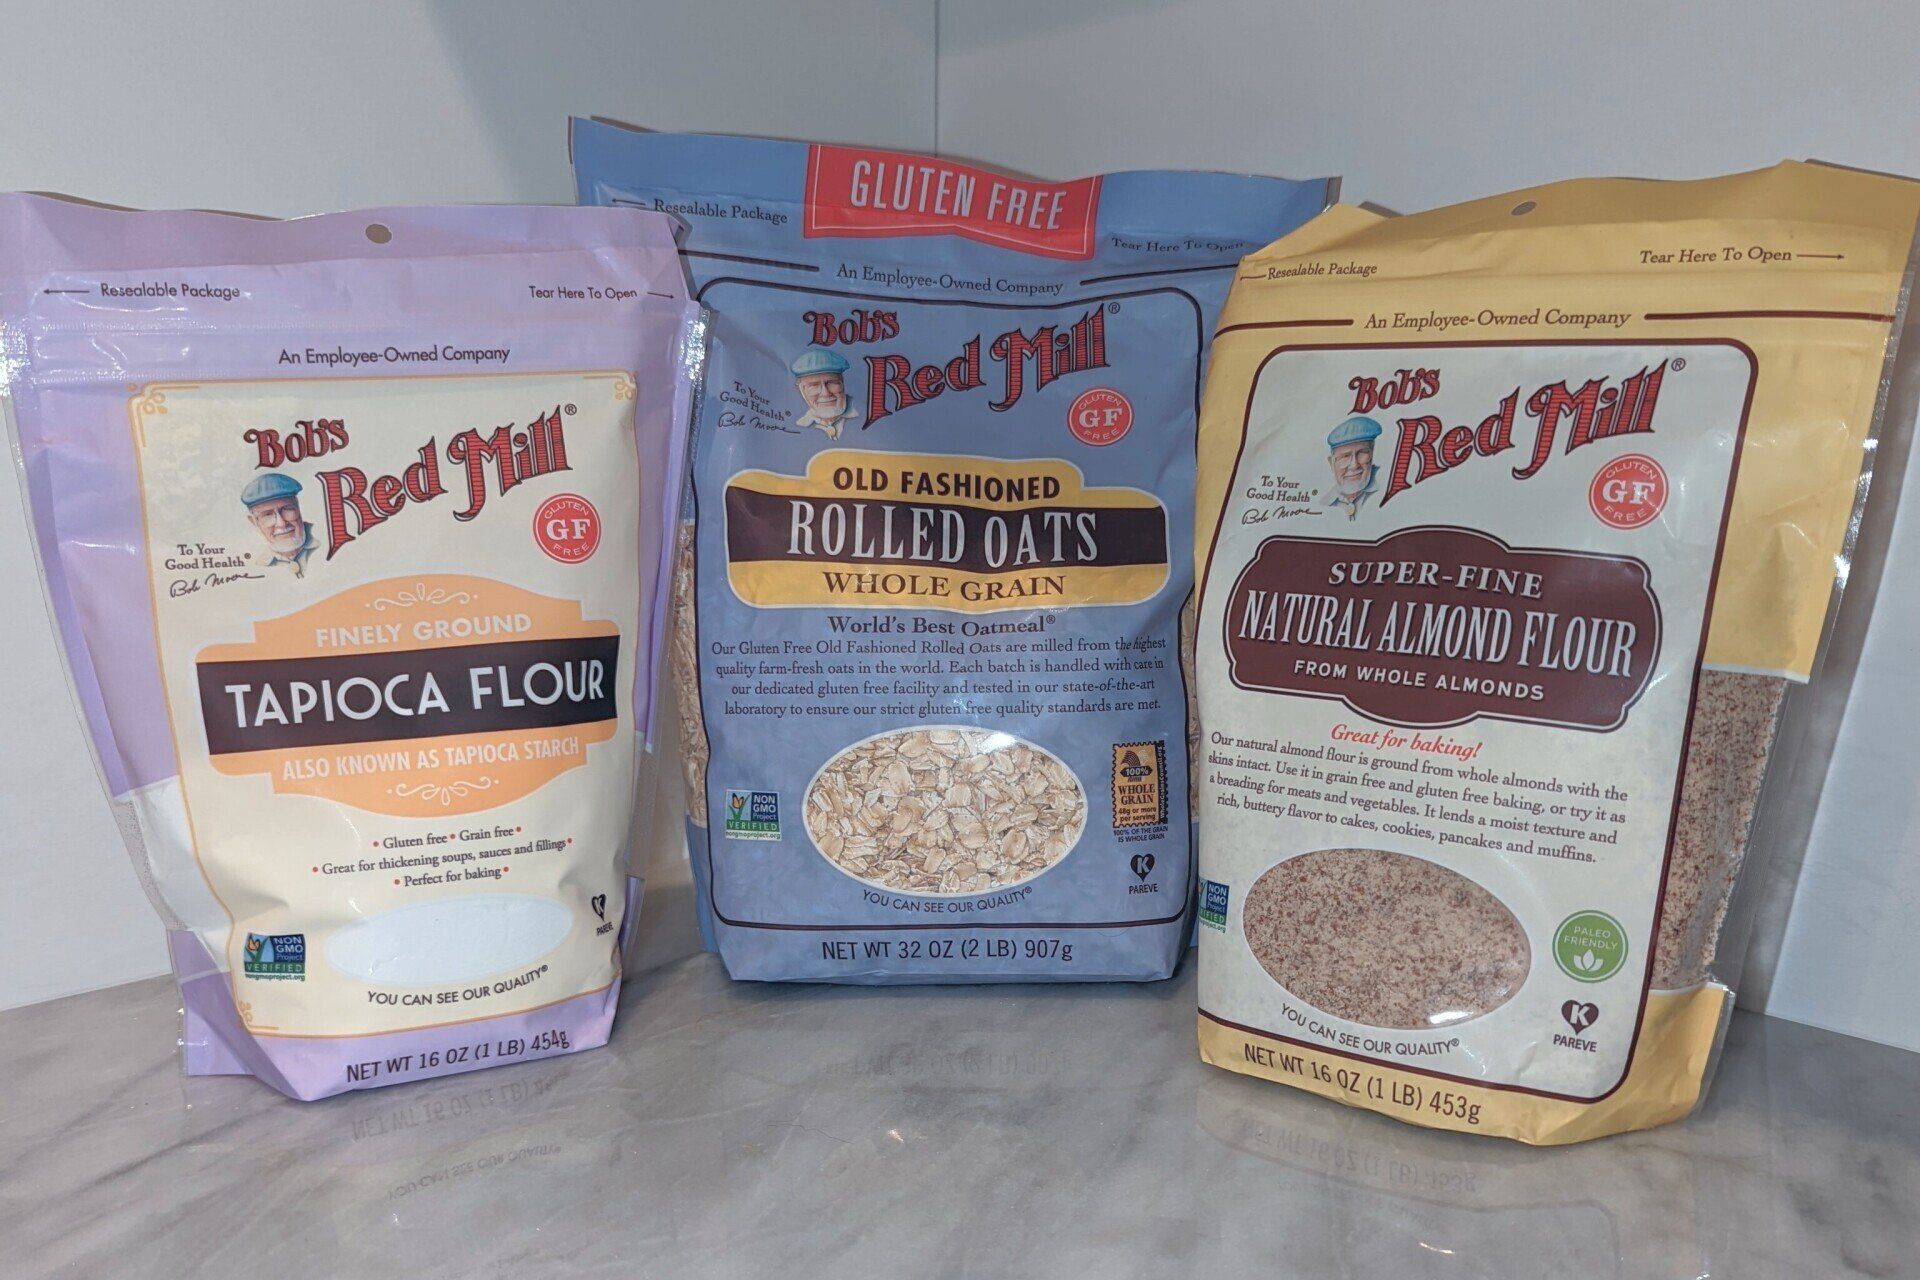
Ingredients you'll need:
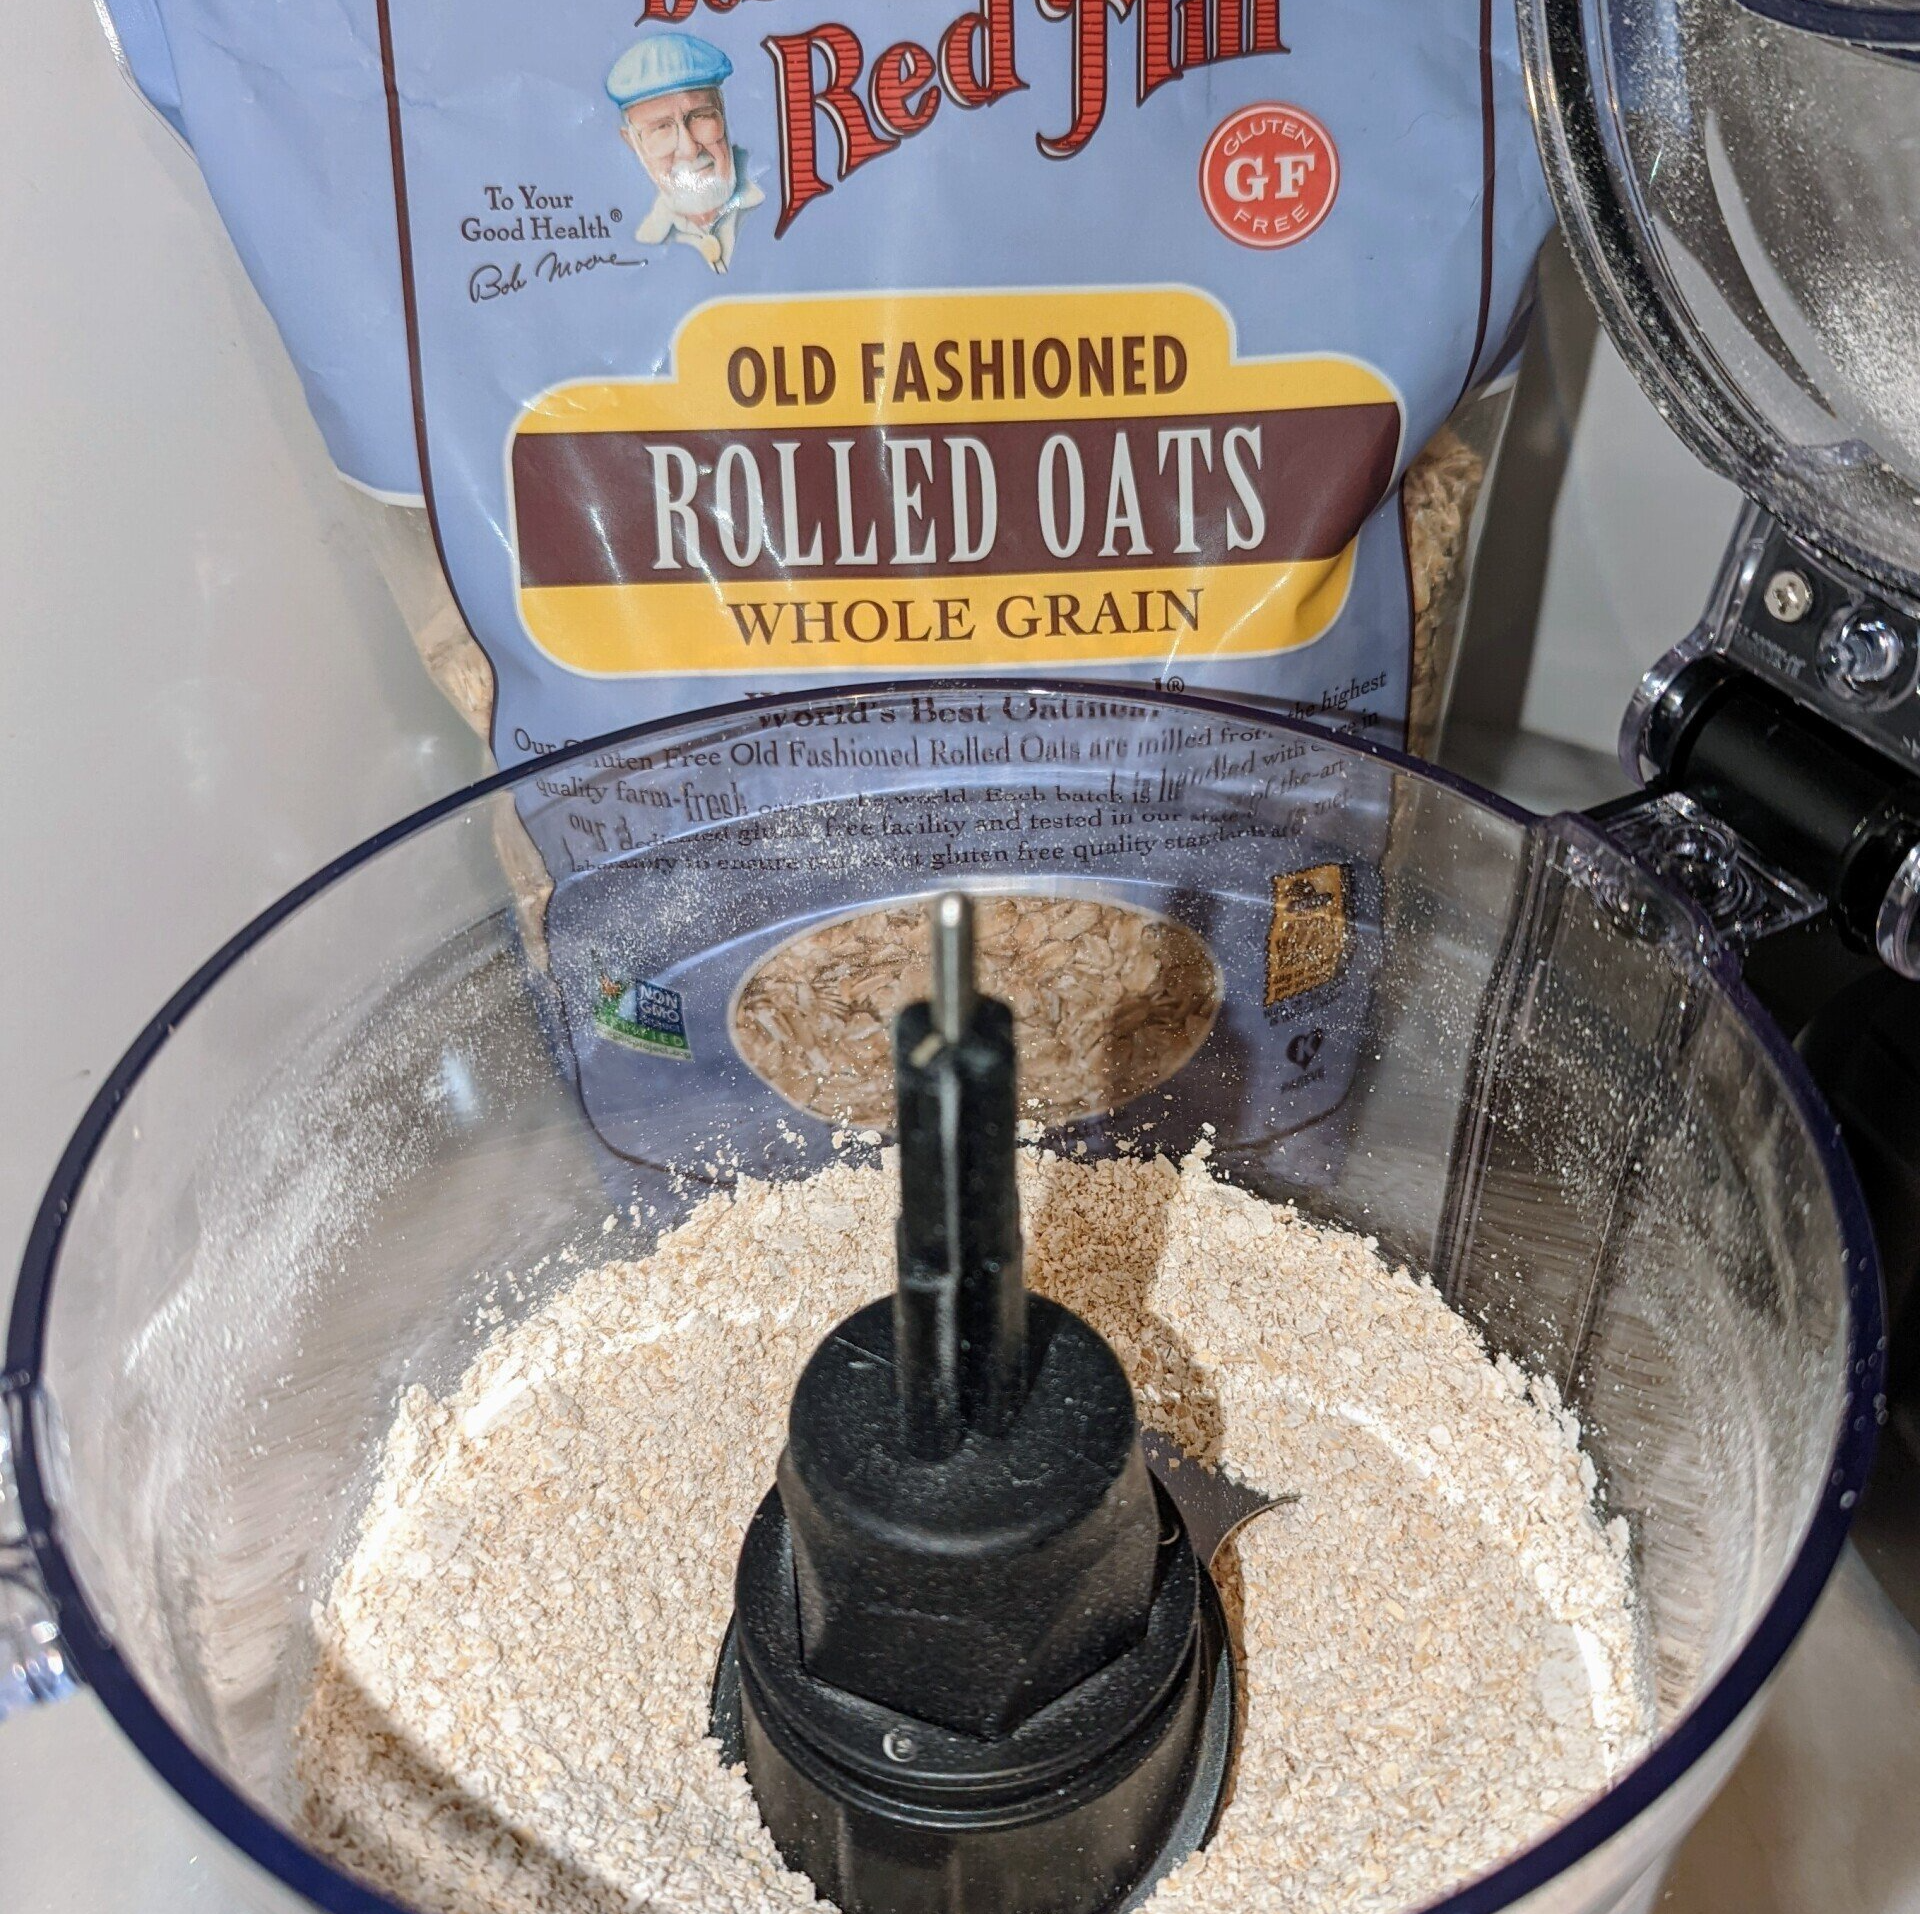
- 1 & 1/2 cups Bob's Red Mill Old-Fashioned Rolled Oats
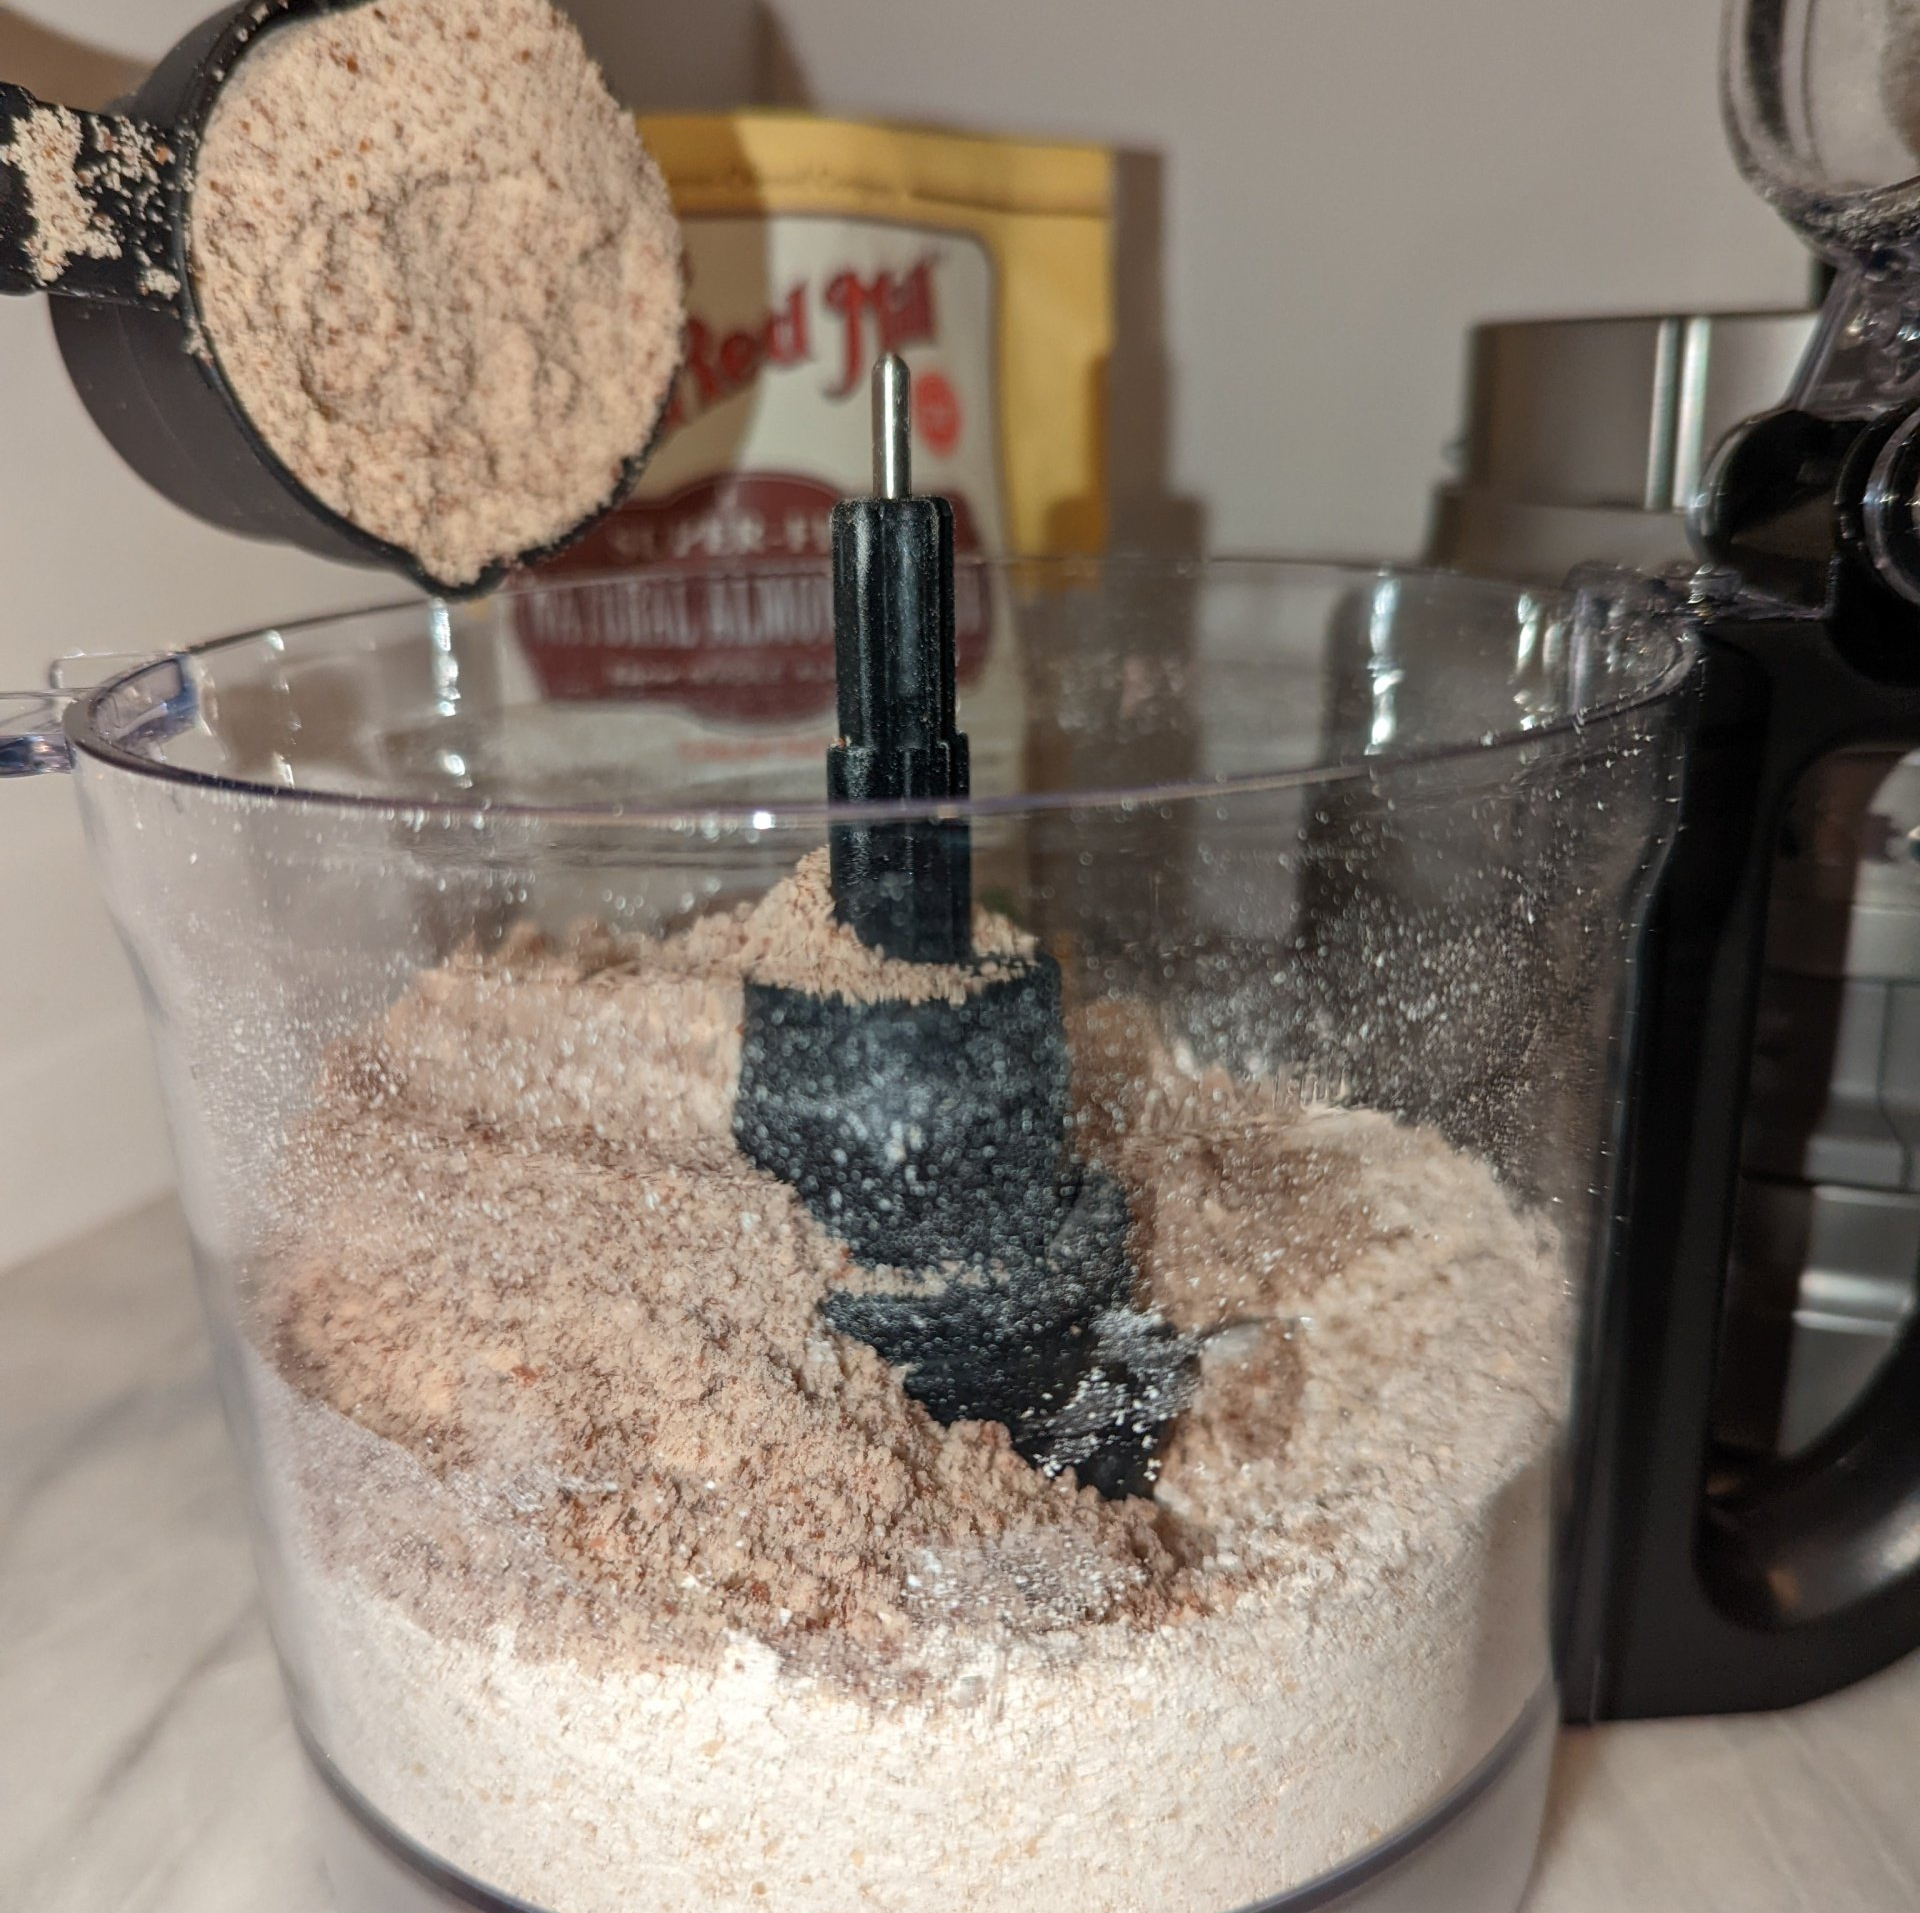
- 1 & 1/2 cups Bob's Red Mill Superfine Almond flour
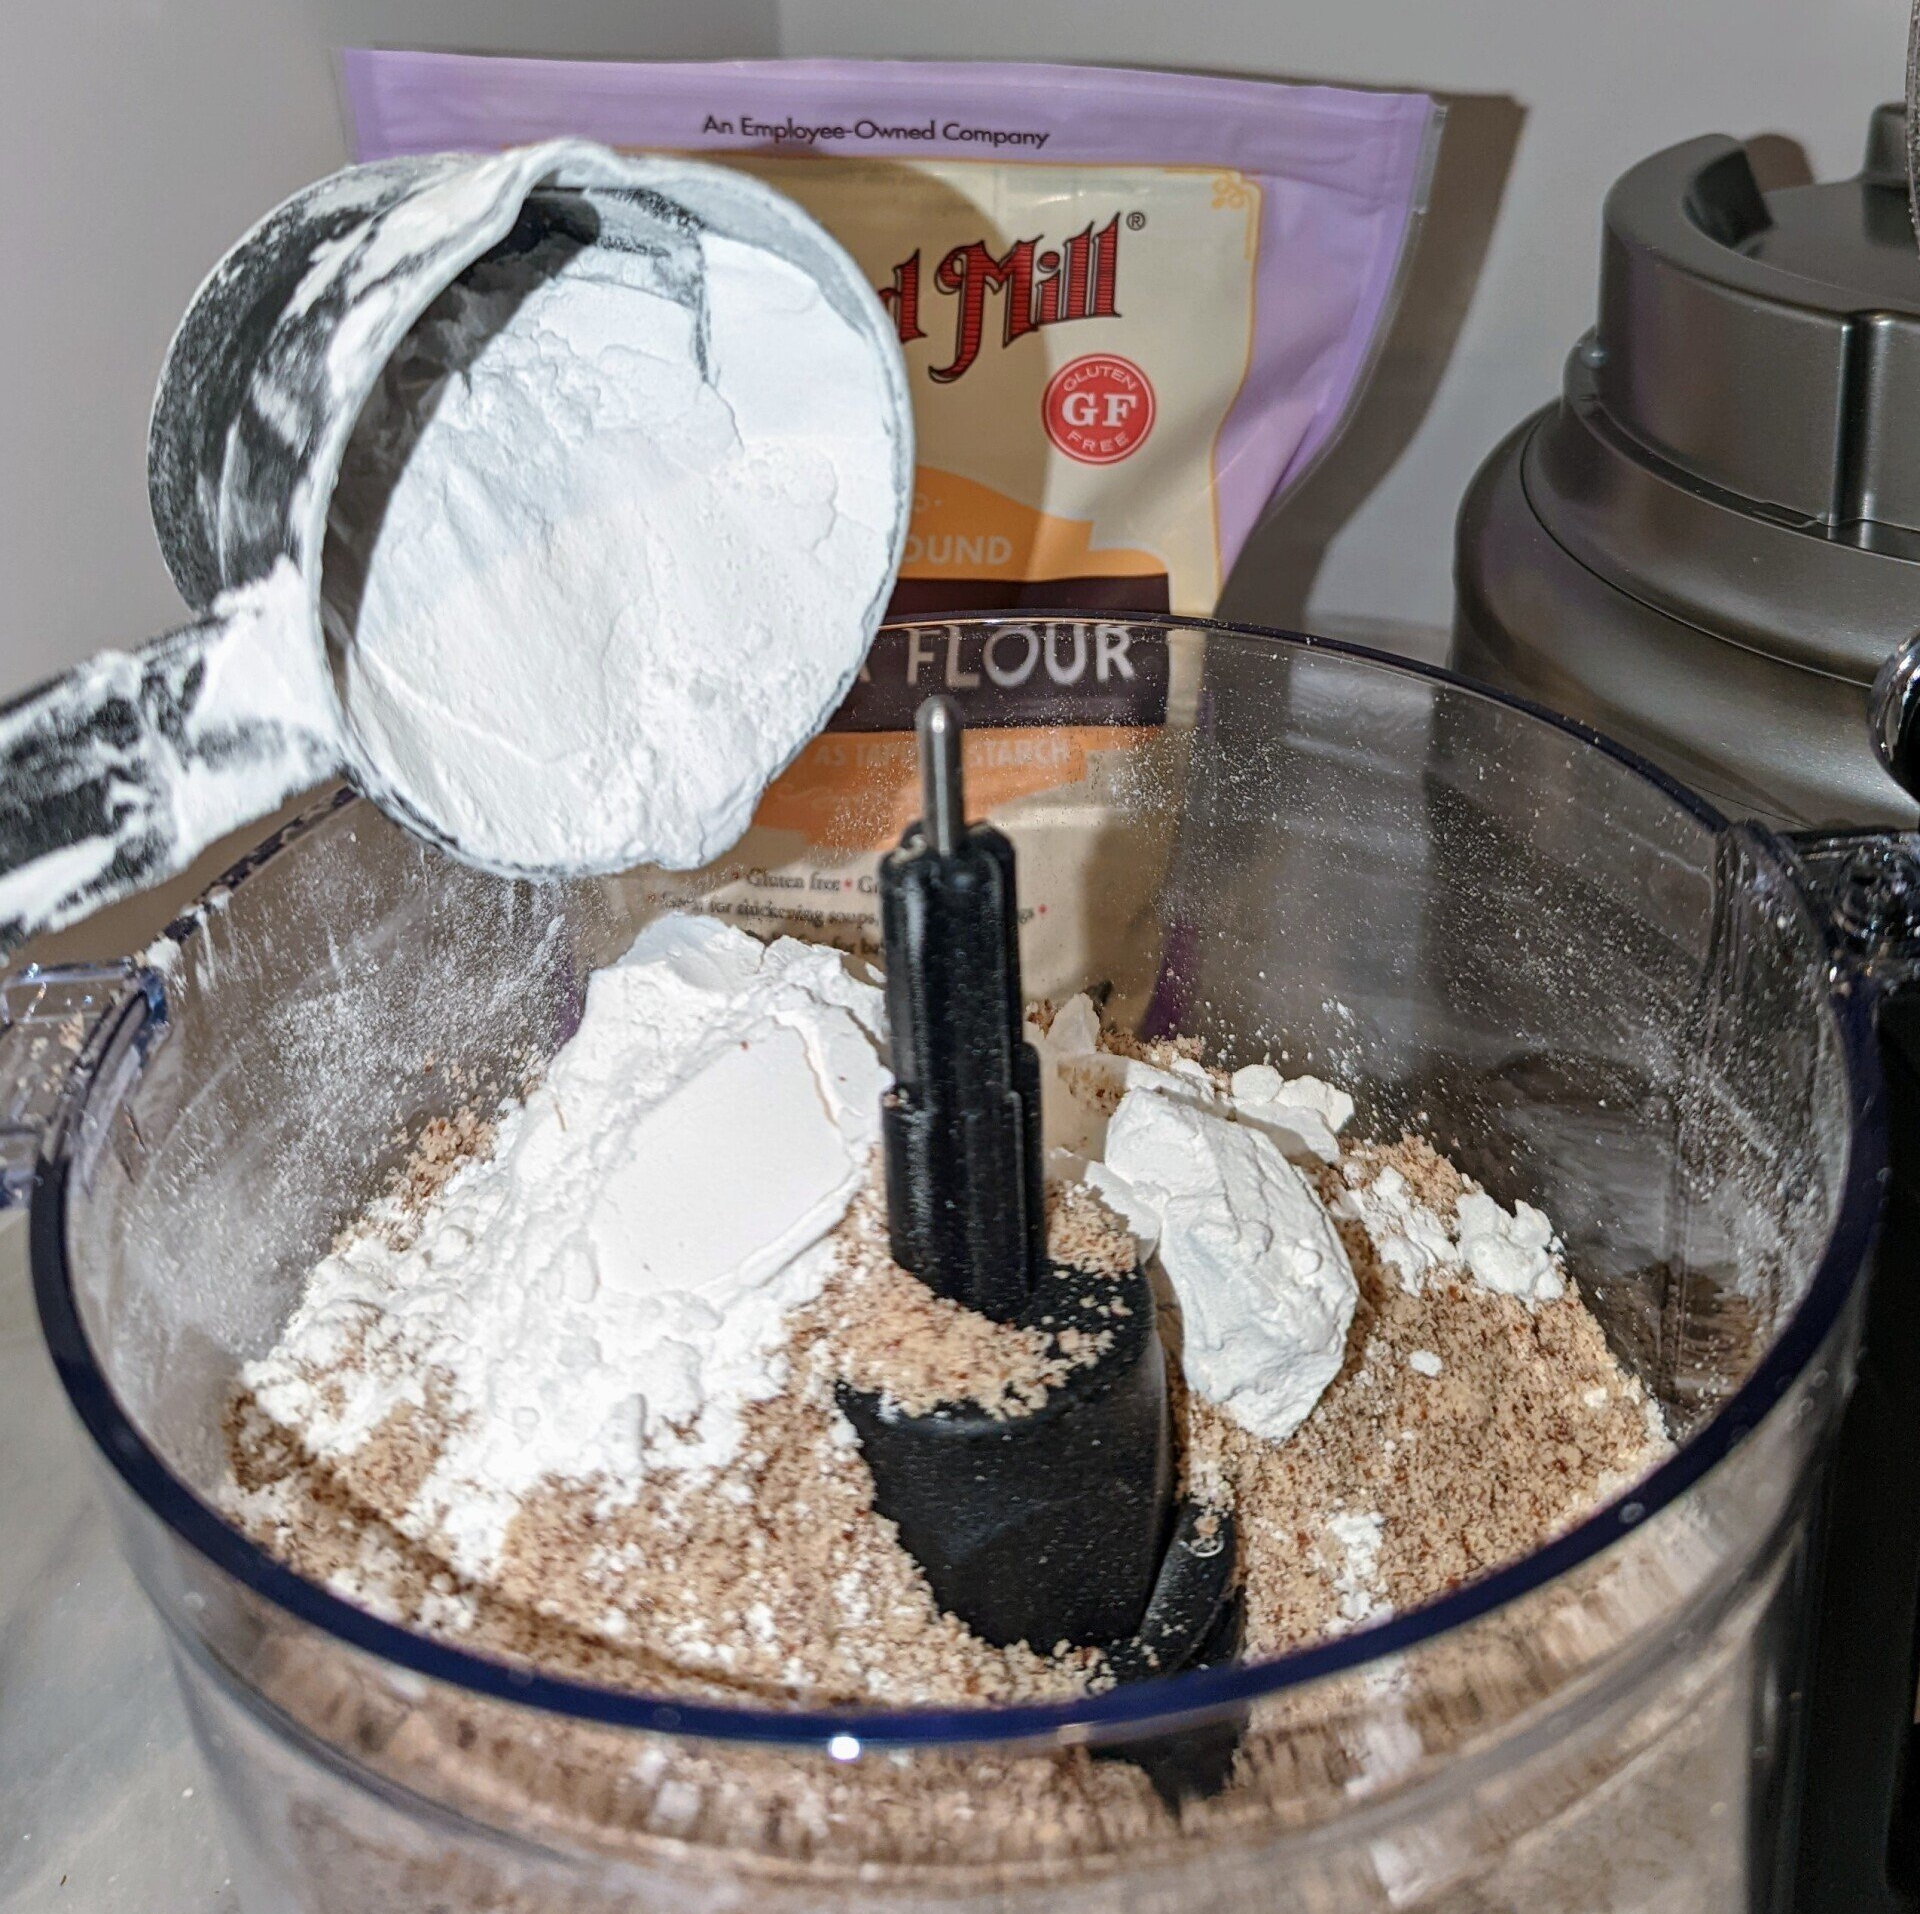
- 1/2 cup Bob's Red Mill Tapioca flour
- 3/4 cup coconut sugar
- 1 tsp baking powder
- 3/4 cup pistachios
- 2 eggs, beaten
- 2 tsp almond extract
- 1/4 cup refined coconut oil, melted
- 3/4 cup dark chocolate chips
- 1 tbsp refined coconut oil, not melted
- 1 tbsp coconut sugar for sprinkling the dough before baking
Kitchen gadgets you may need:
- Food processor or blender
- Kitchenaid stand mixer, hand mixer, or whisk
- Spatula
- Baking sheet
- Parchment Paper
- Large glass mixing bowl
- Measuring cups and spoons
- Small pot
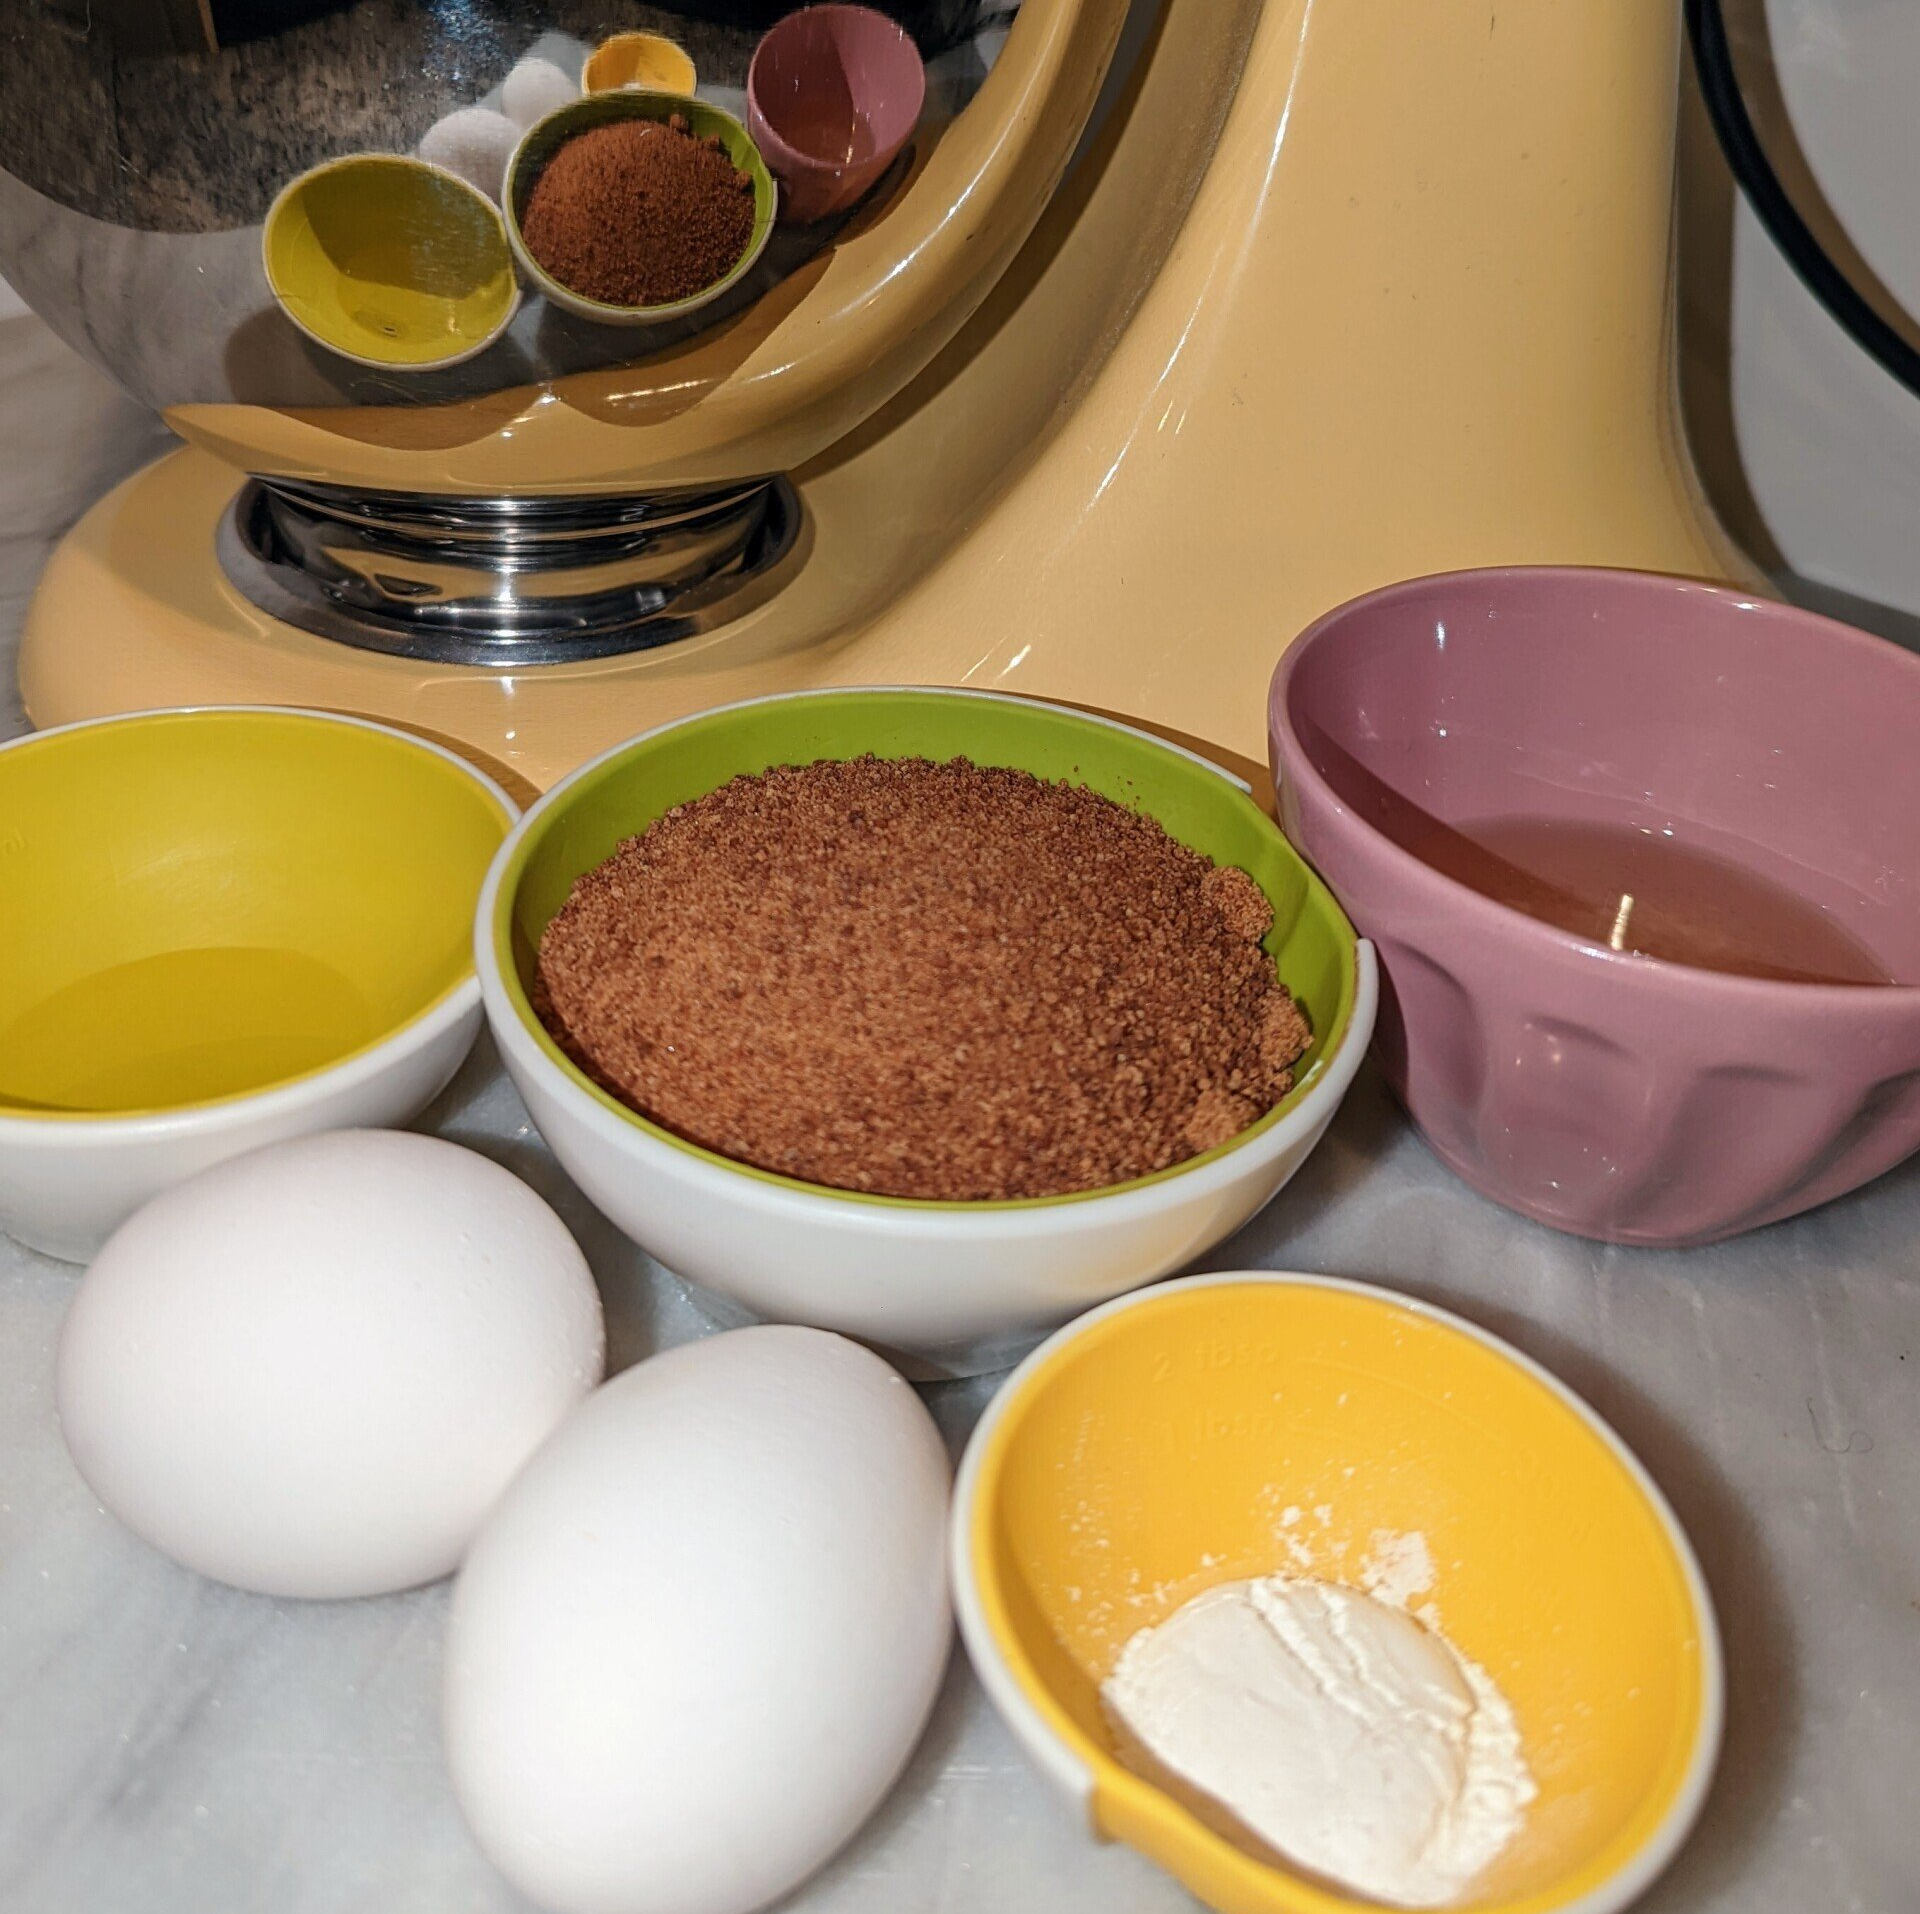
Let's get cooking!
- Preheat your oven to 350 and line a baking sheet with parchment paper.
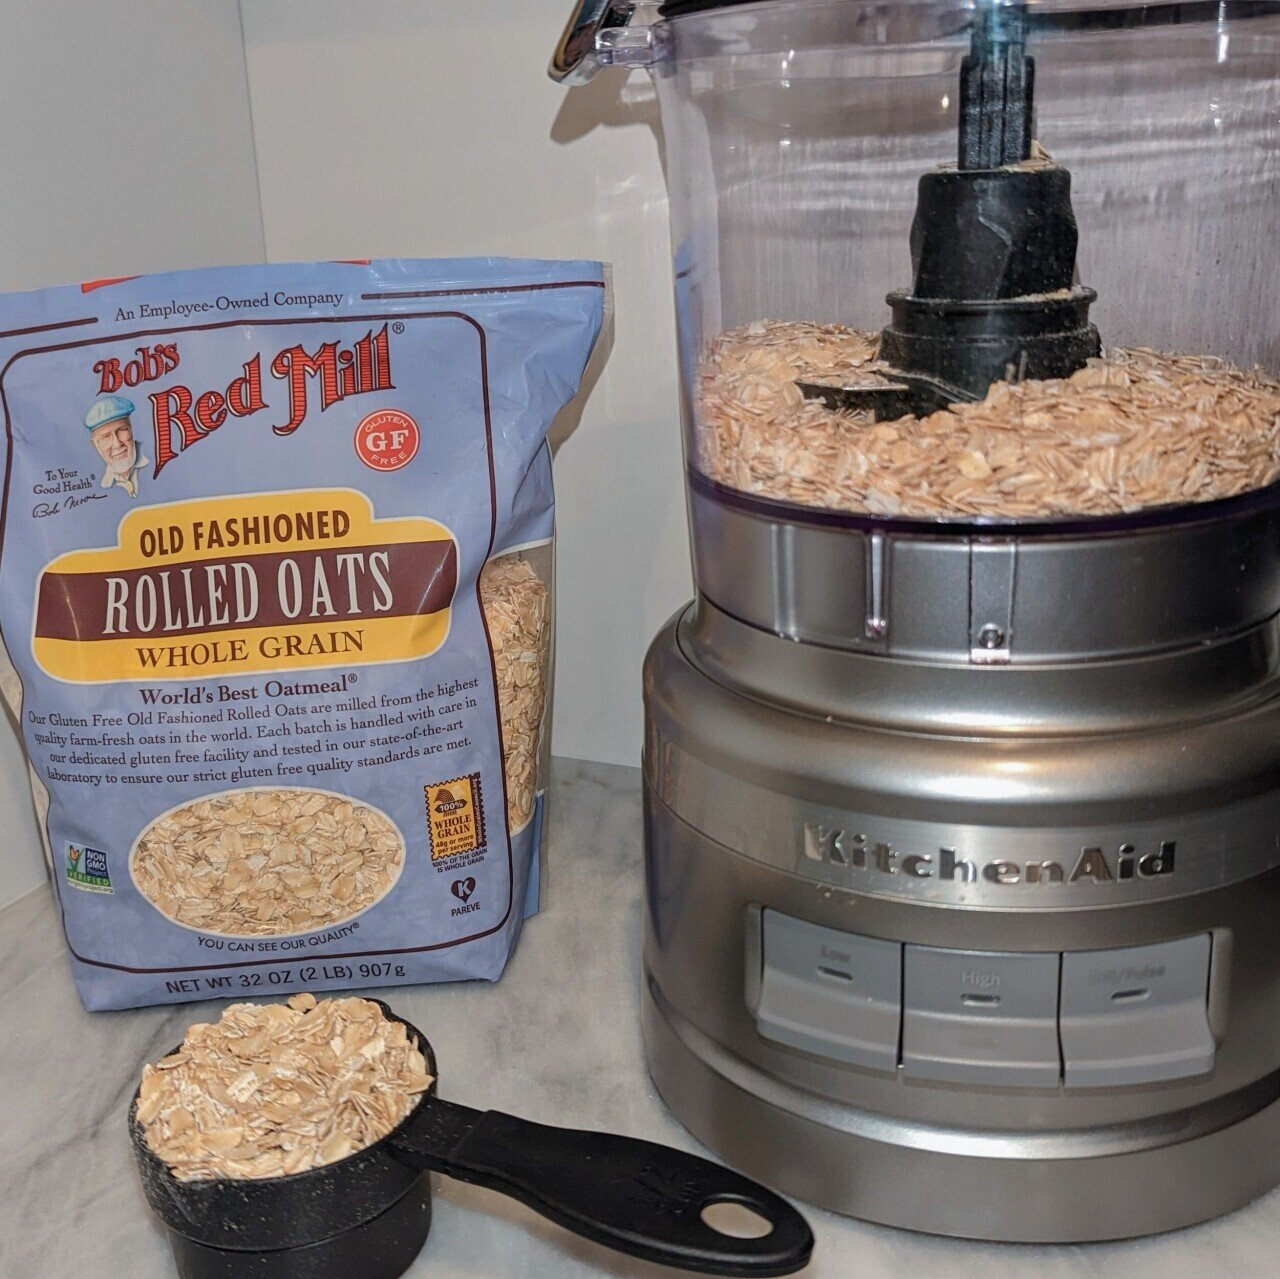
- Start by placing the rolled oats in your food processor, blend for 1 minute on high speed until it turns to a coarse flour.
- Add the almond flour and tapioca flour to the food processor and pulse until combined. If you have a smaller food processor, no biggie! Pour the oat flour into a large mixing bowl, add the almond and tapioca flour, & whisk away.
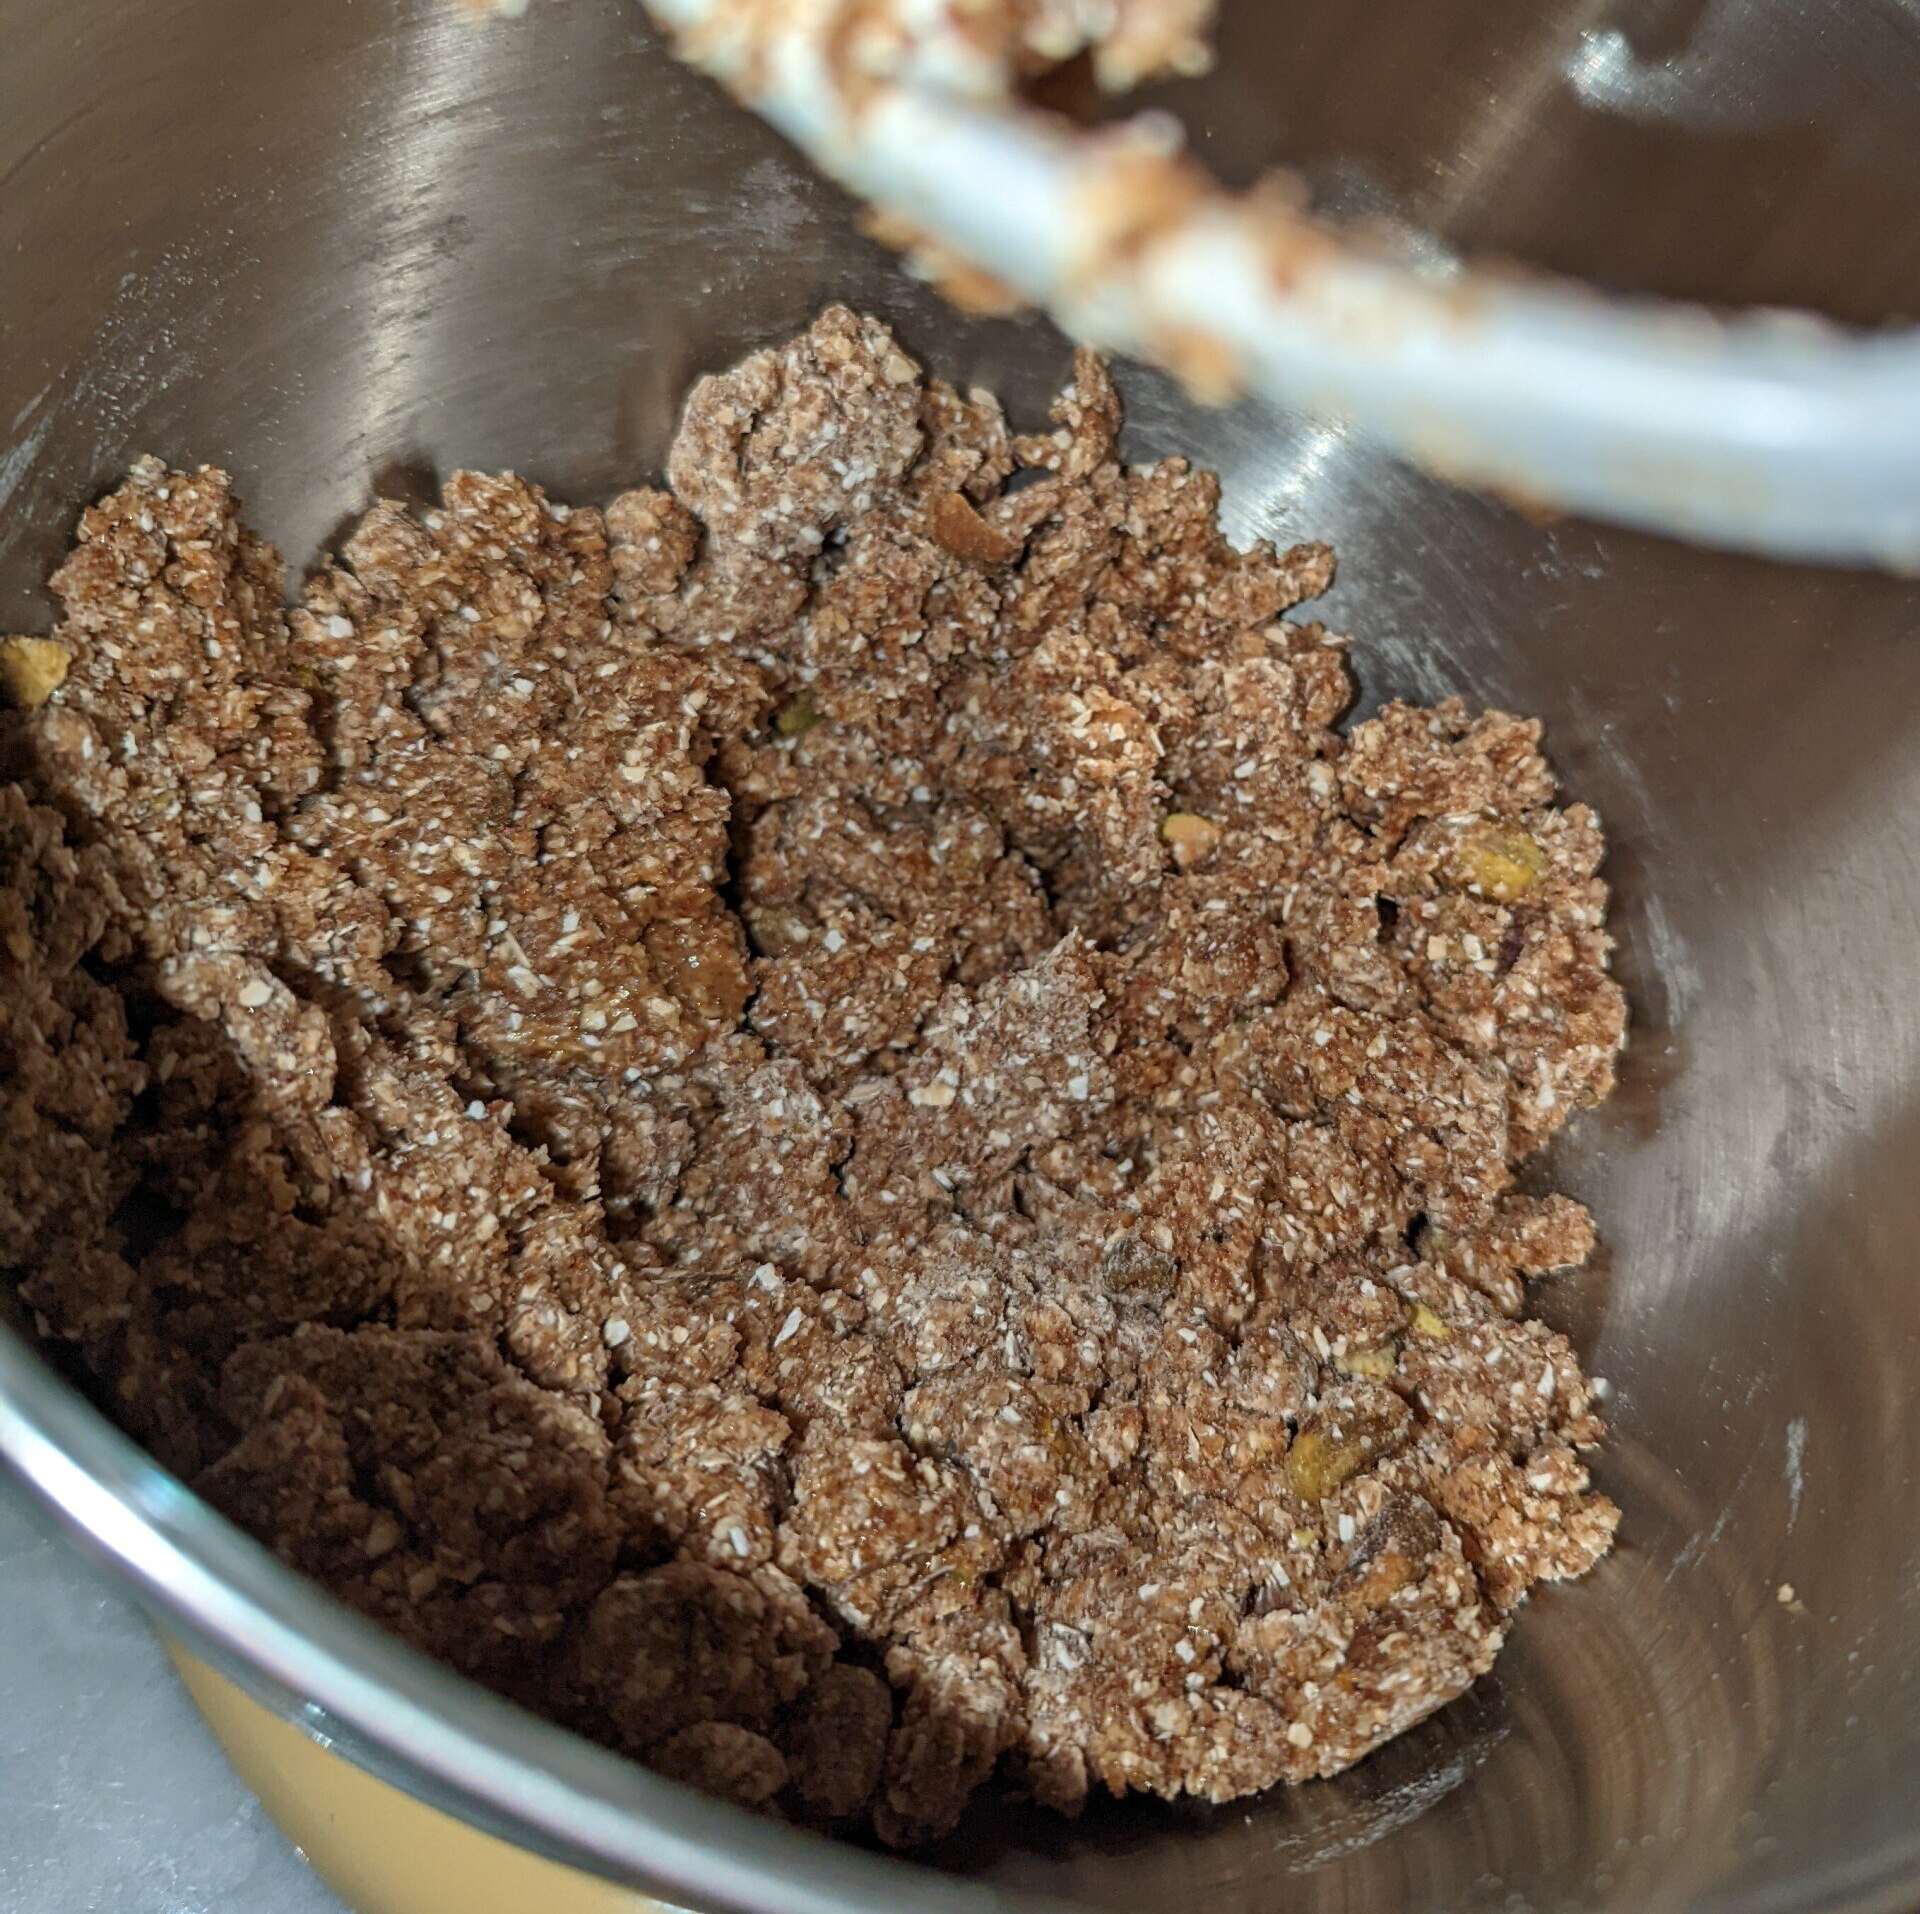
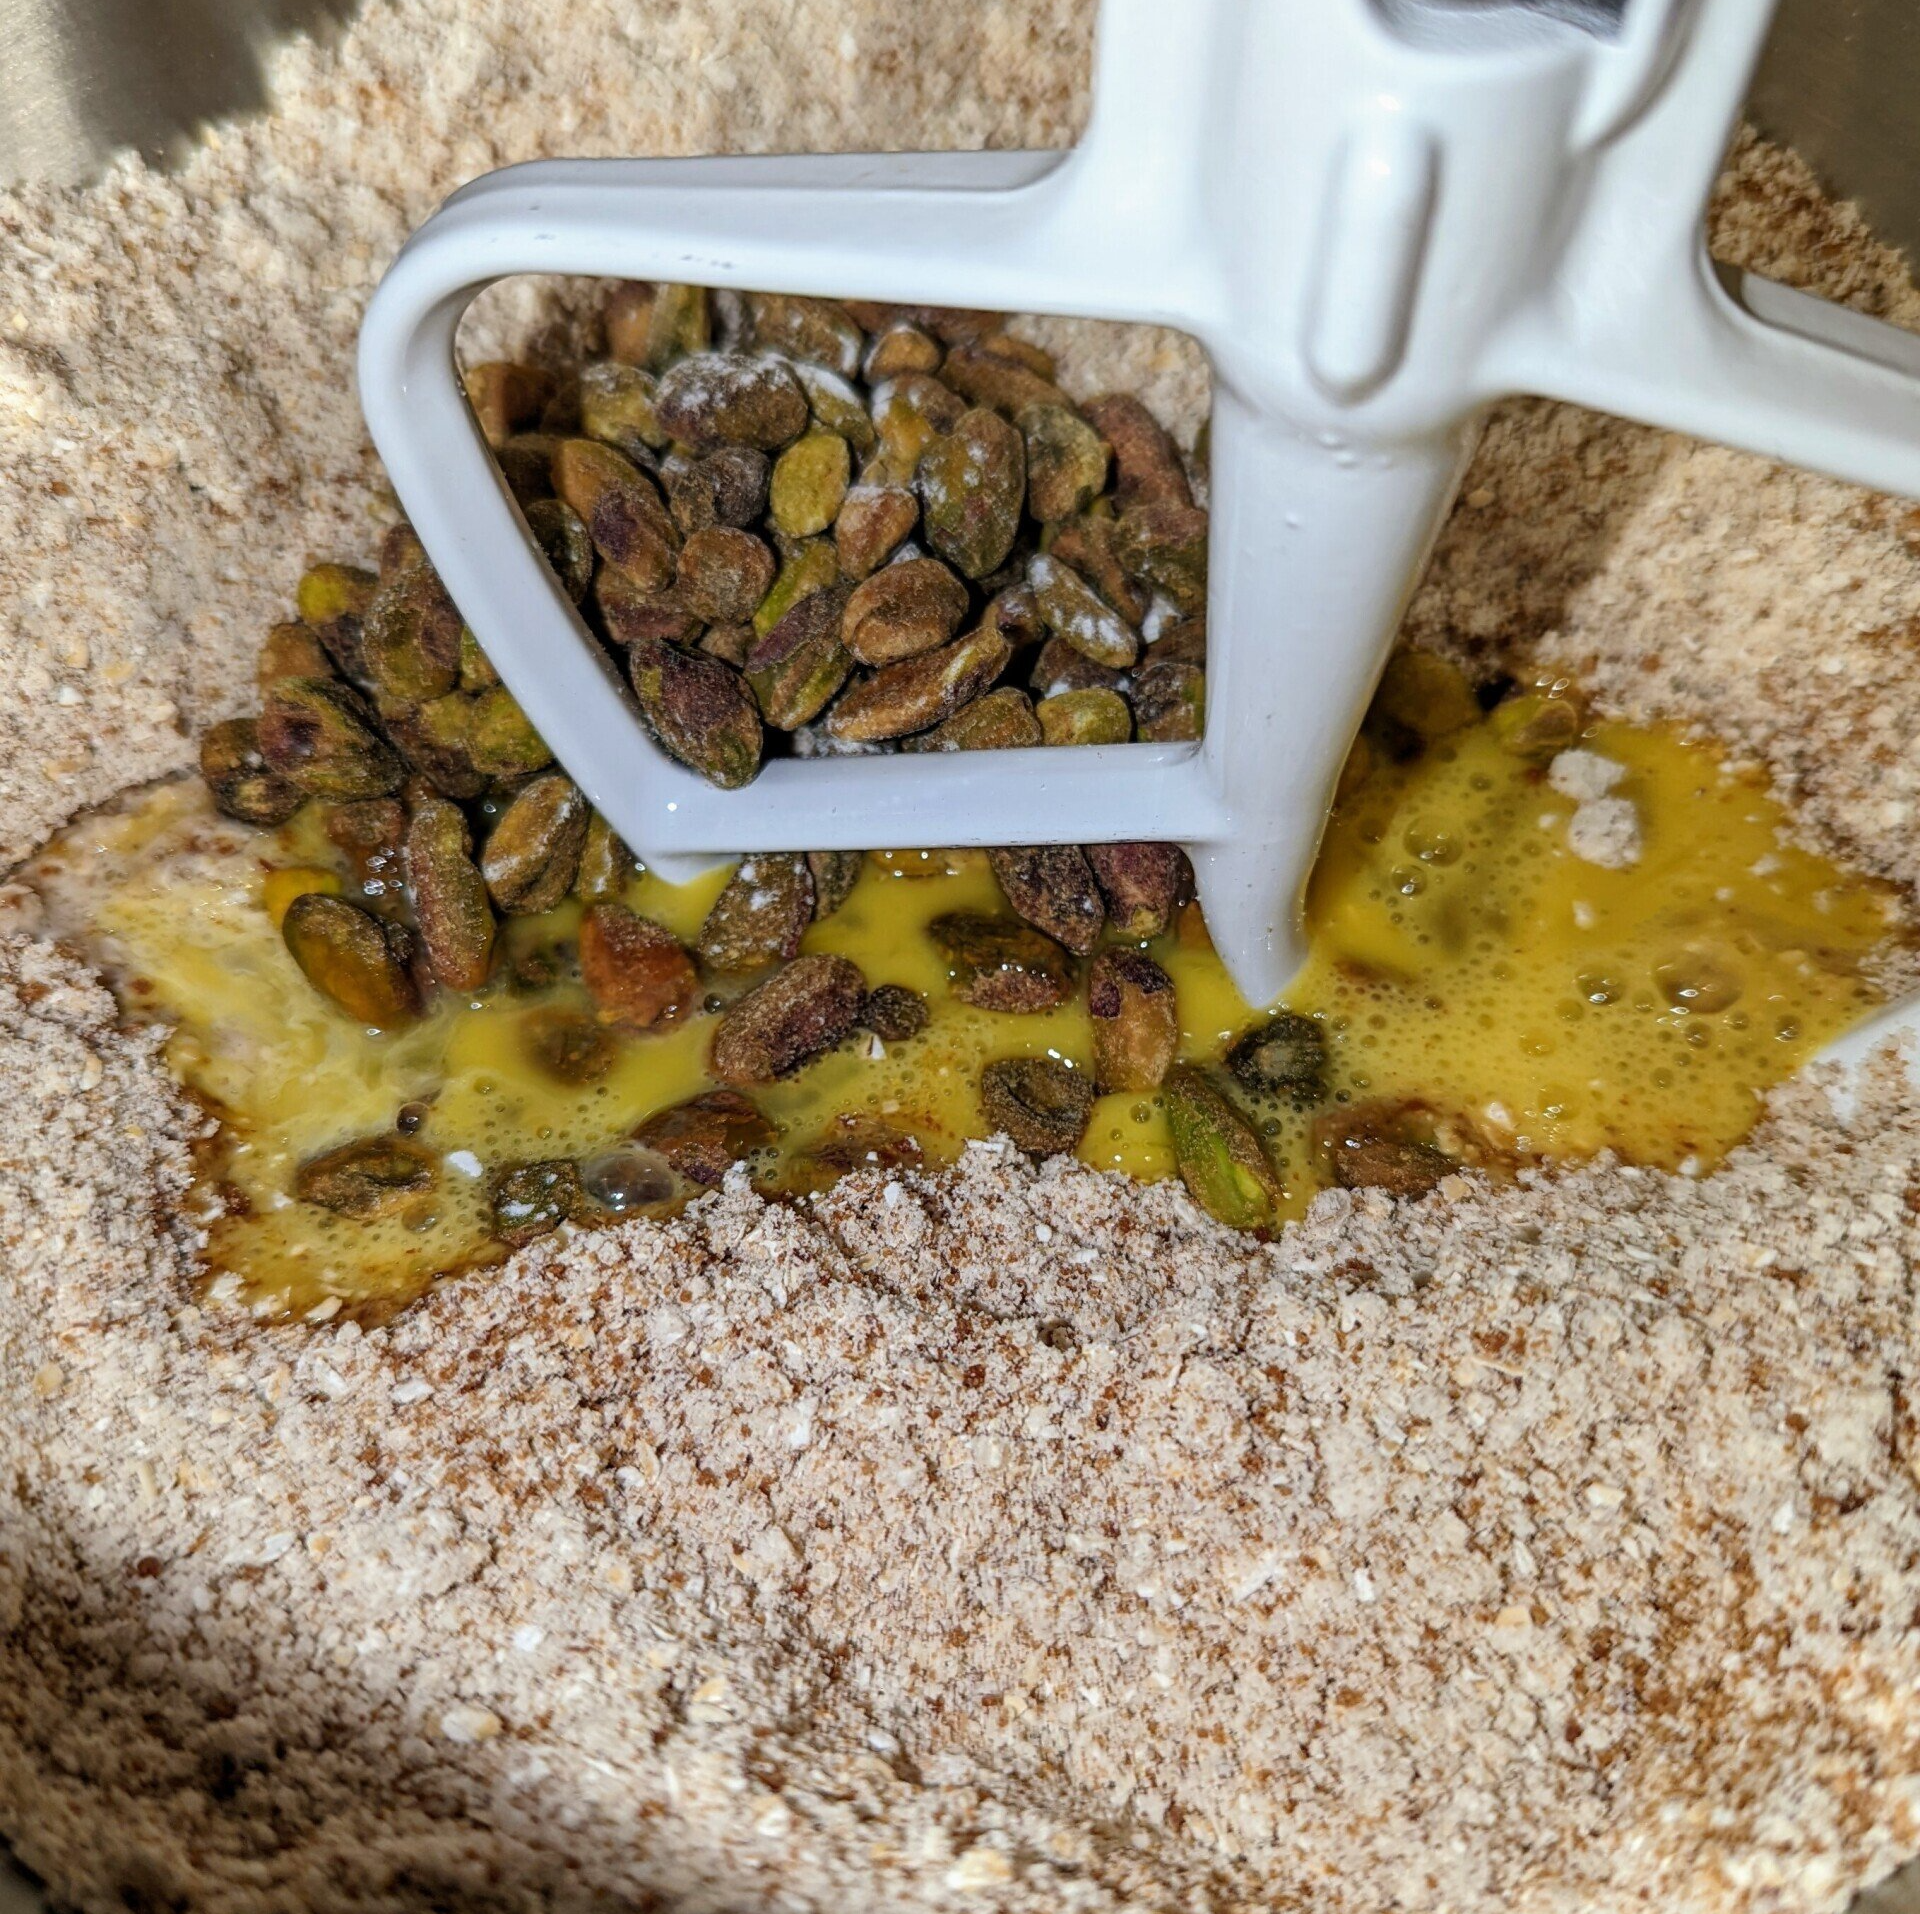
- Transfer the mixture to your Kitchenaid mixer if you were using the food processor, then add the baking powder, coconut sugar, eggs, & almond extract. Mix with the paddle attachment until the wet and dry ingredients are incorporated and have a crumbly texture.
If you aren't using a stand mixer, add the ingredients to the large mixing bowl with your flour mixture and mix with a spatula until you achieve the crumbly texture. - Slowly add in the coconut oil and mix.
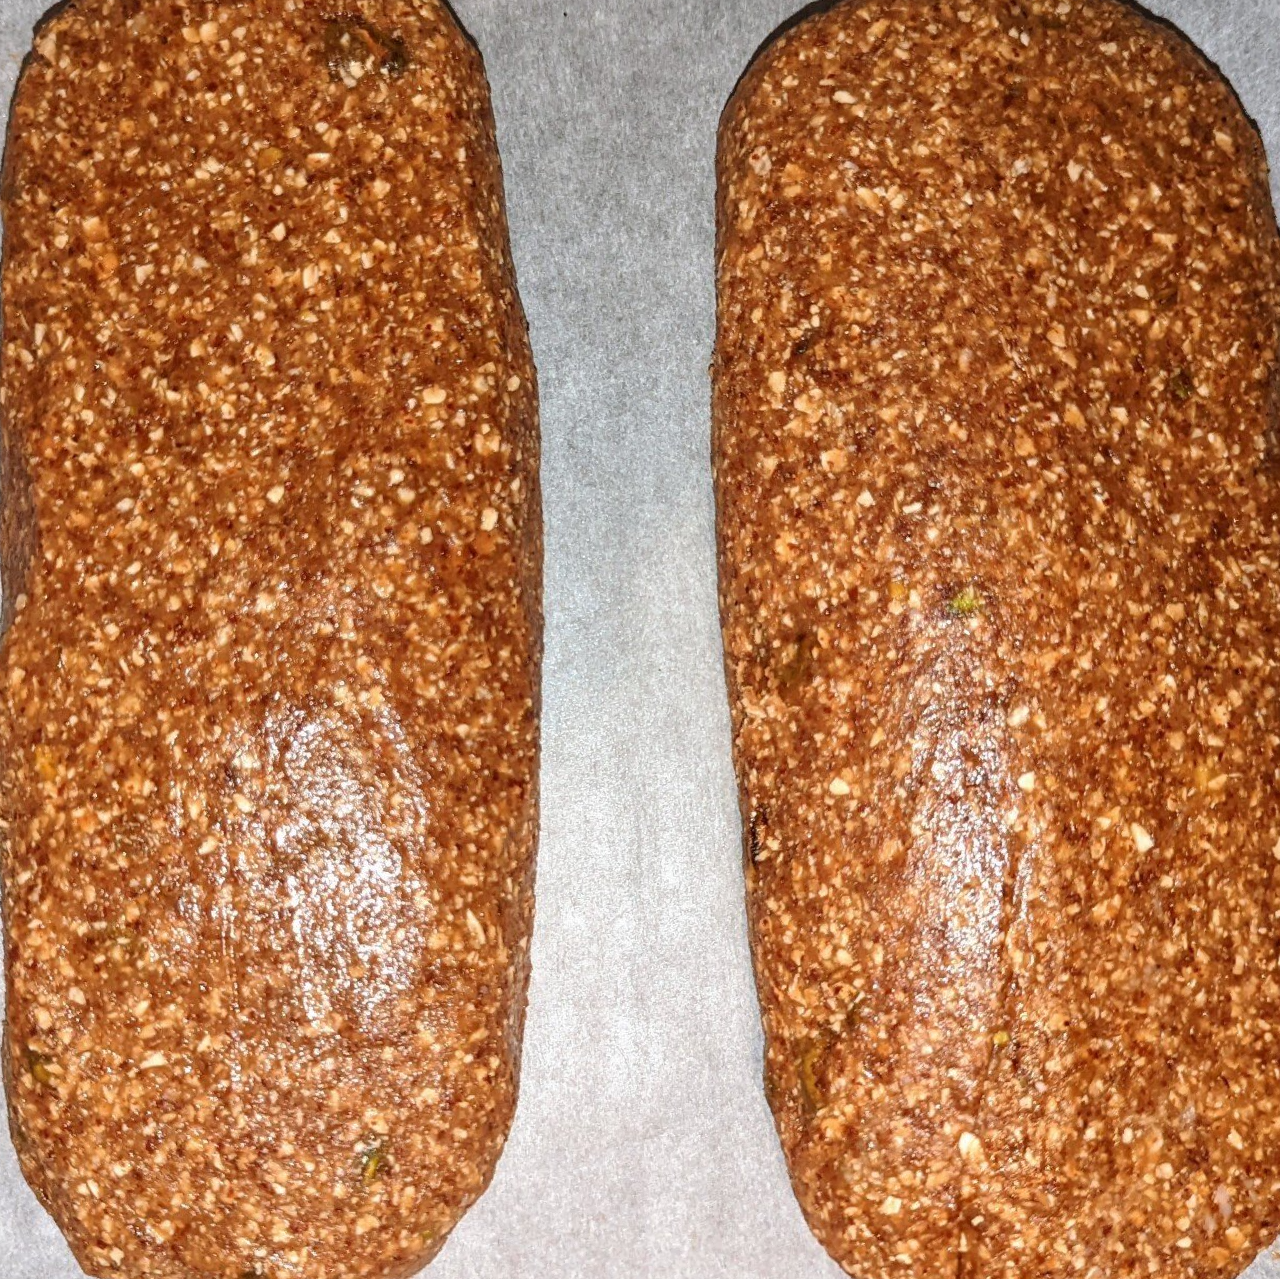
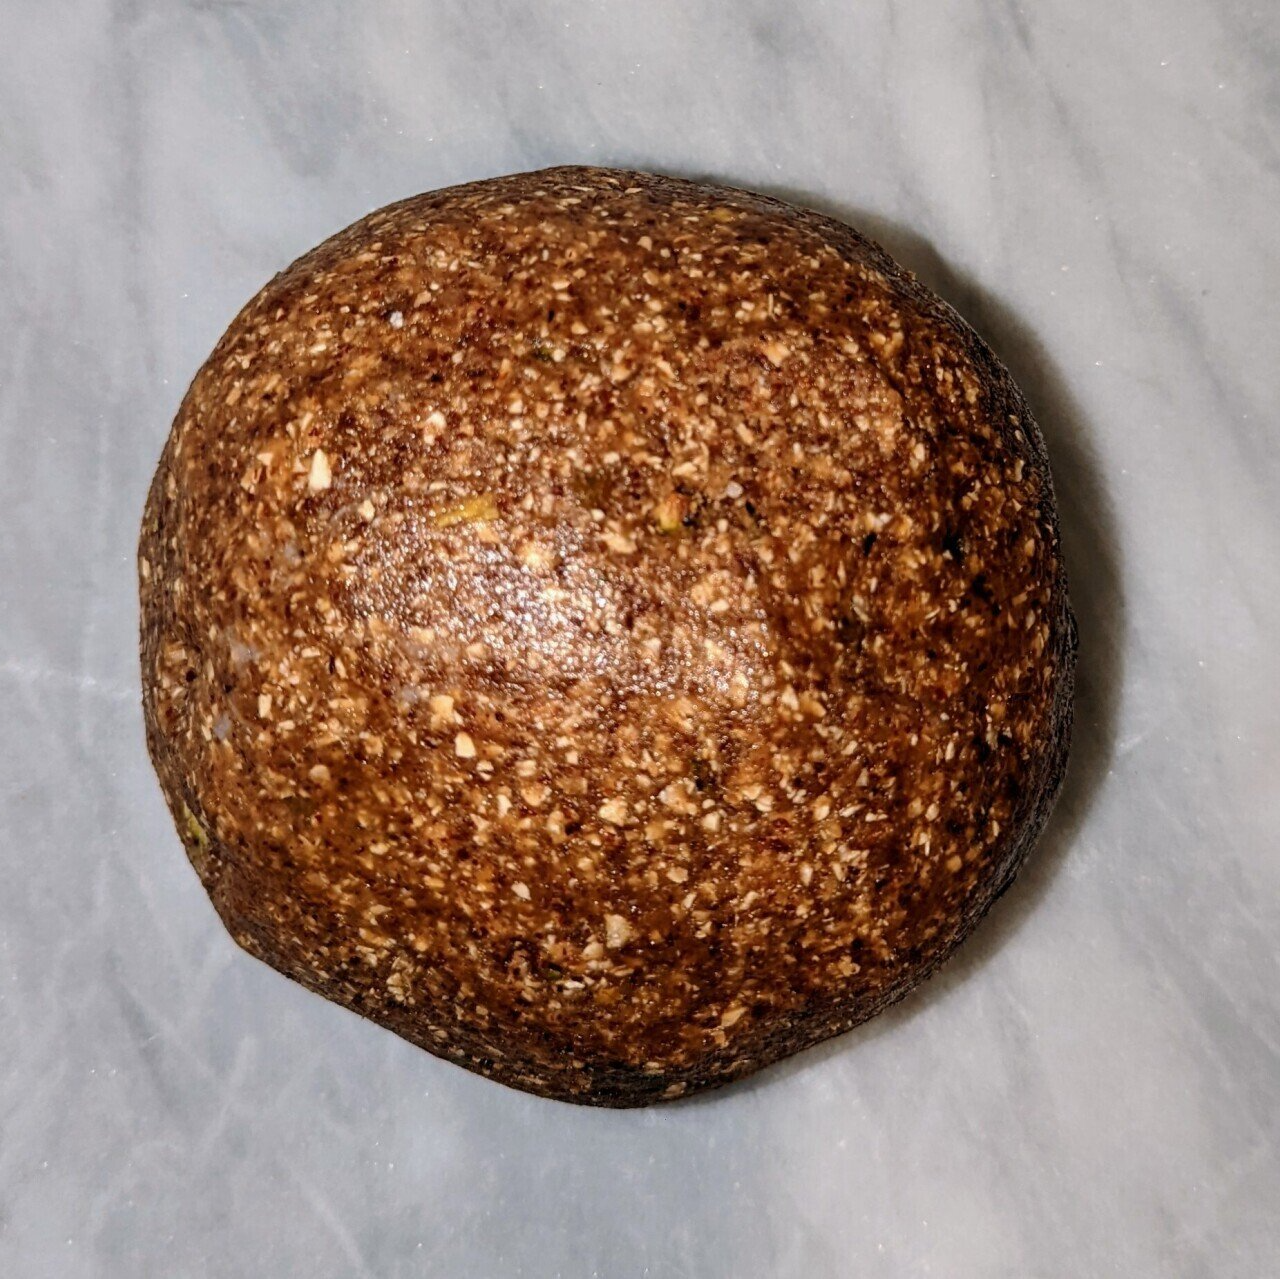
- Remove the dough from the bowl and place on a clean surface. Roll it into a ball, then split in 2.
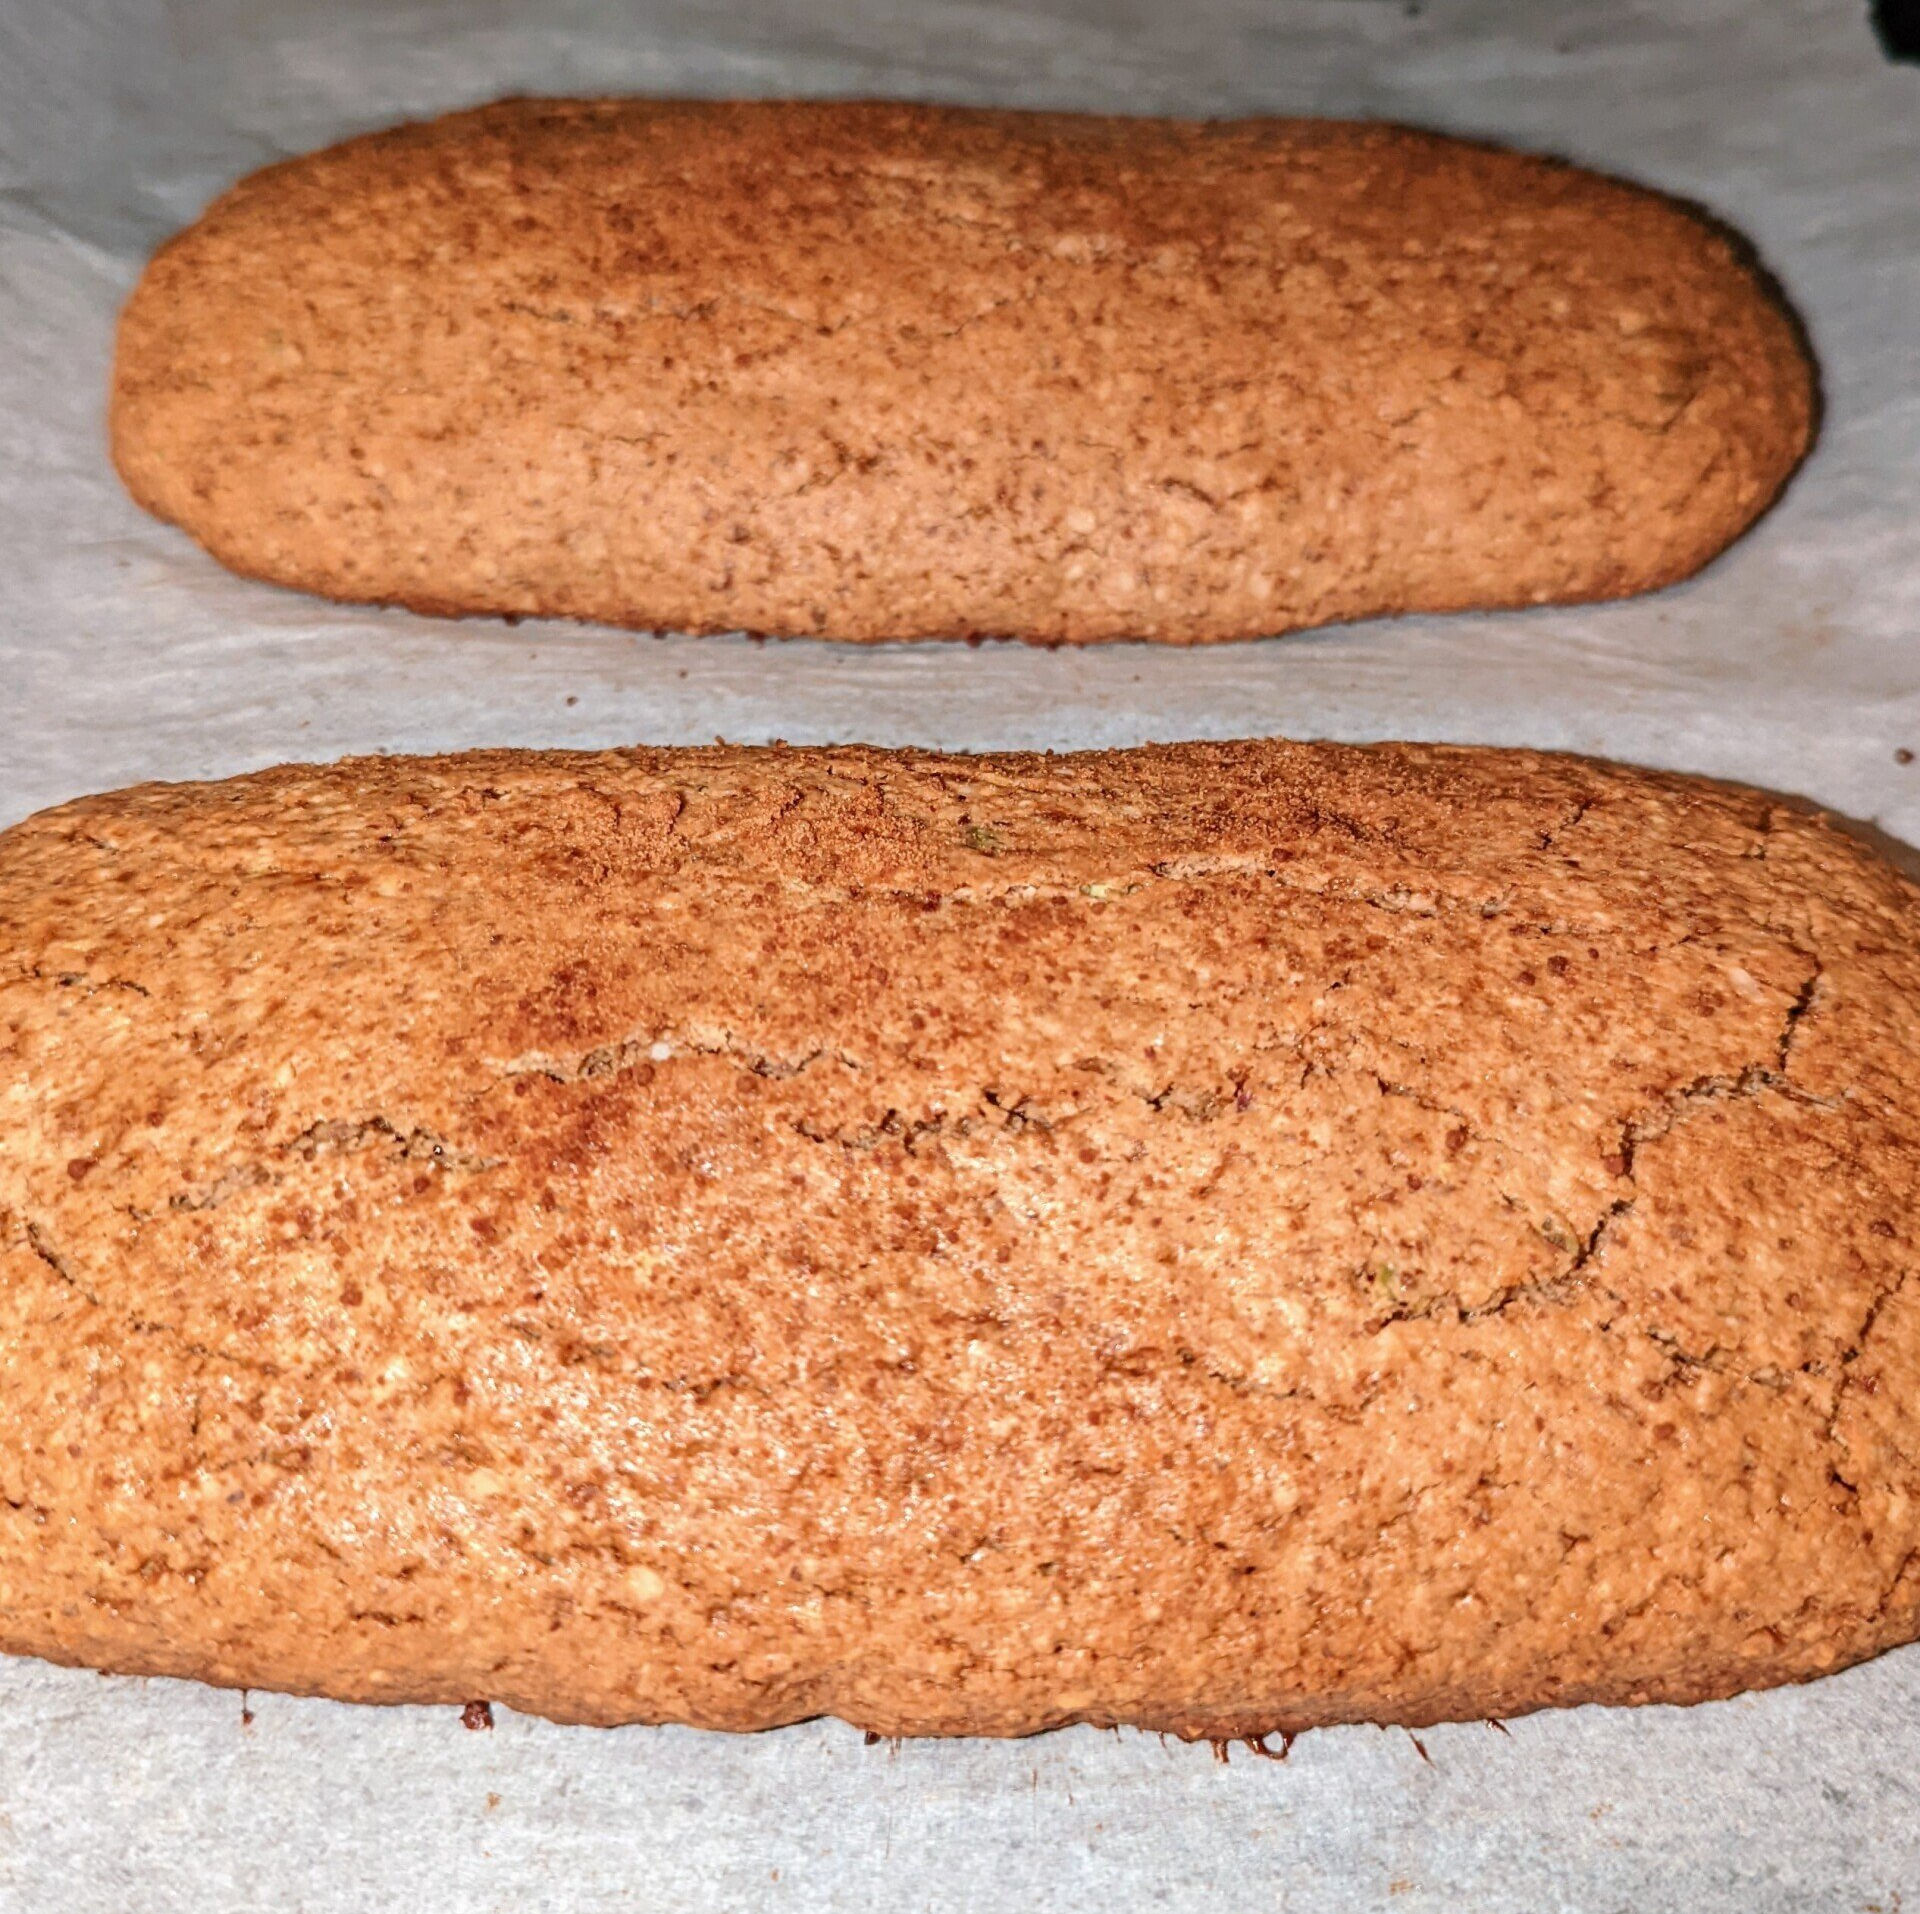
- Roll the dough and form 2 logs, cover with parchment paper, and flatten until the dough is about 3/4-inch thick.
- Bake for 25 minutes. Remove from heat, allow to cool completely, then place in freezer for 30 minutes.
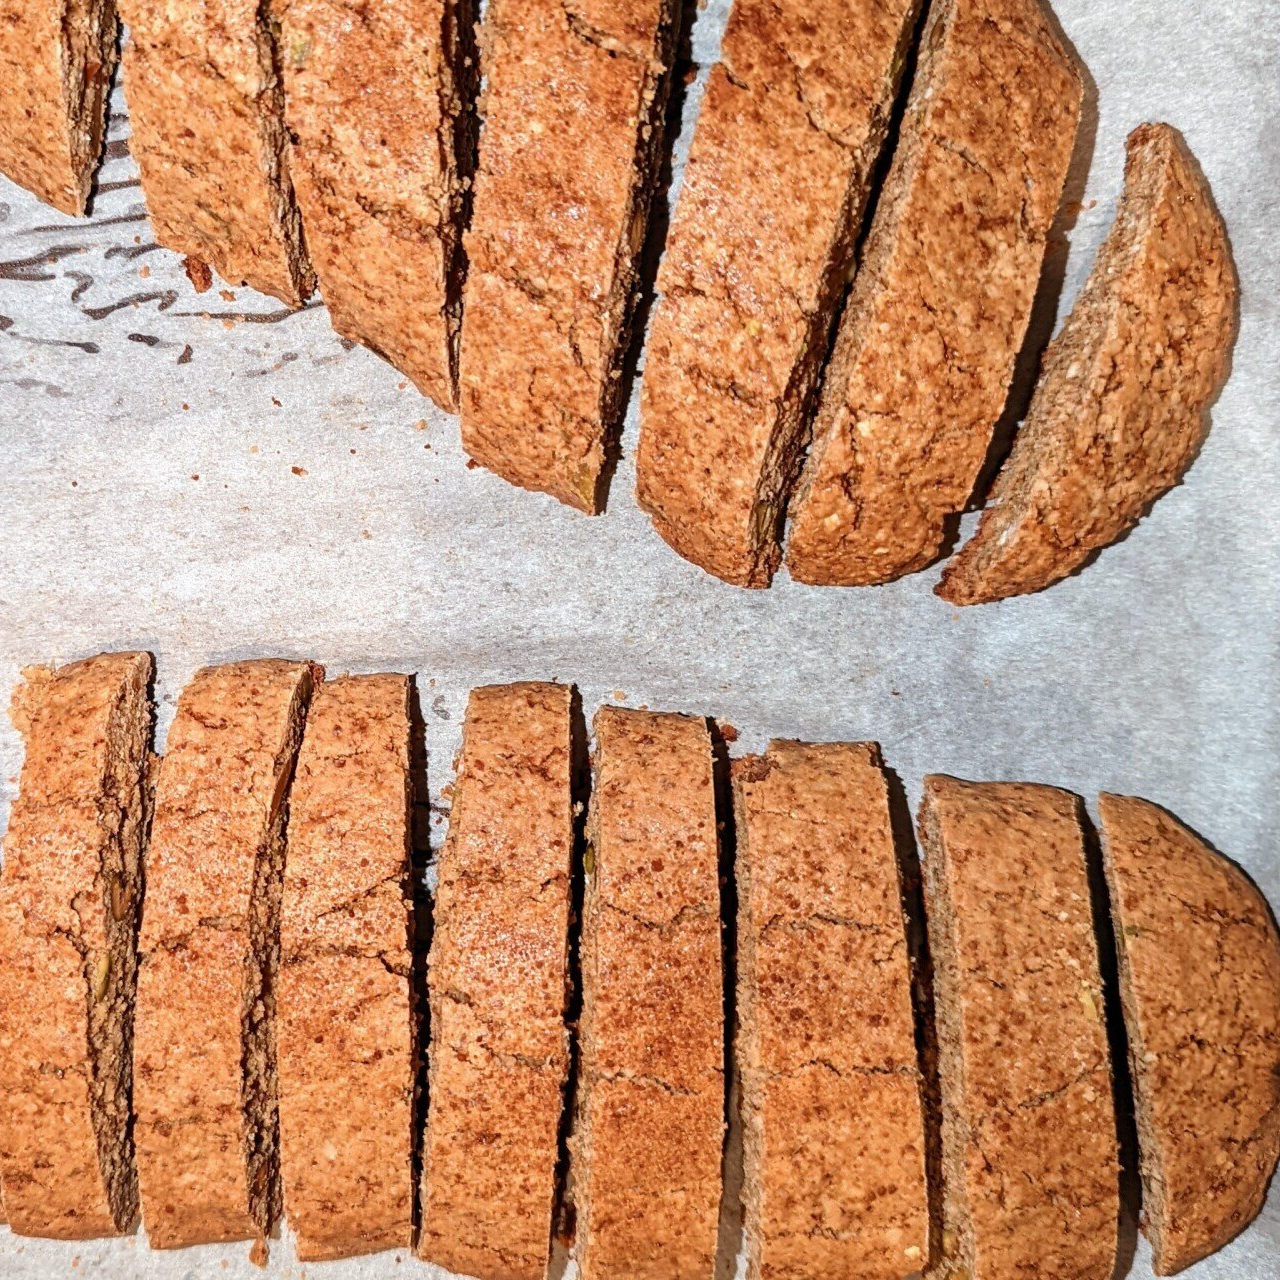
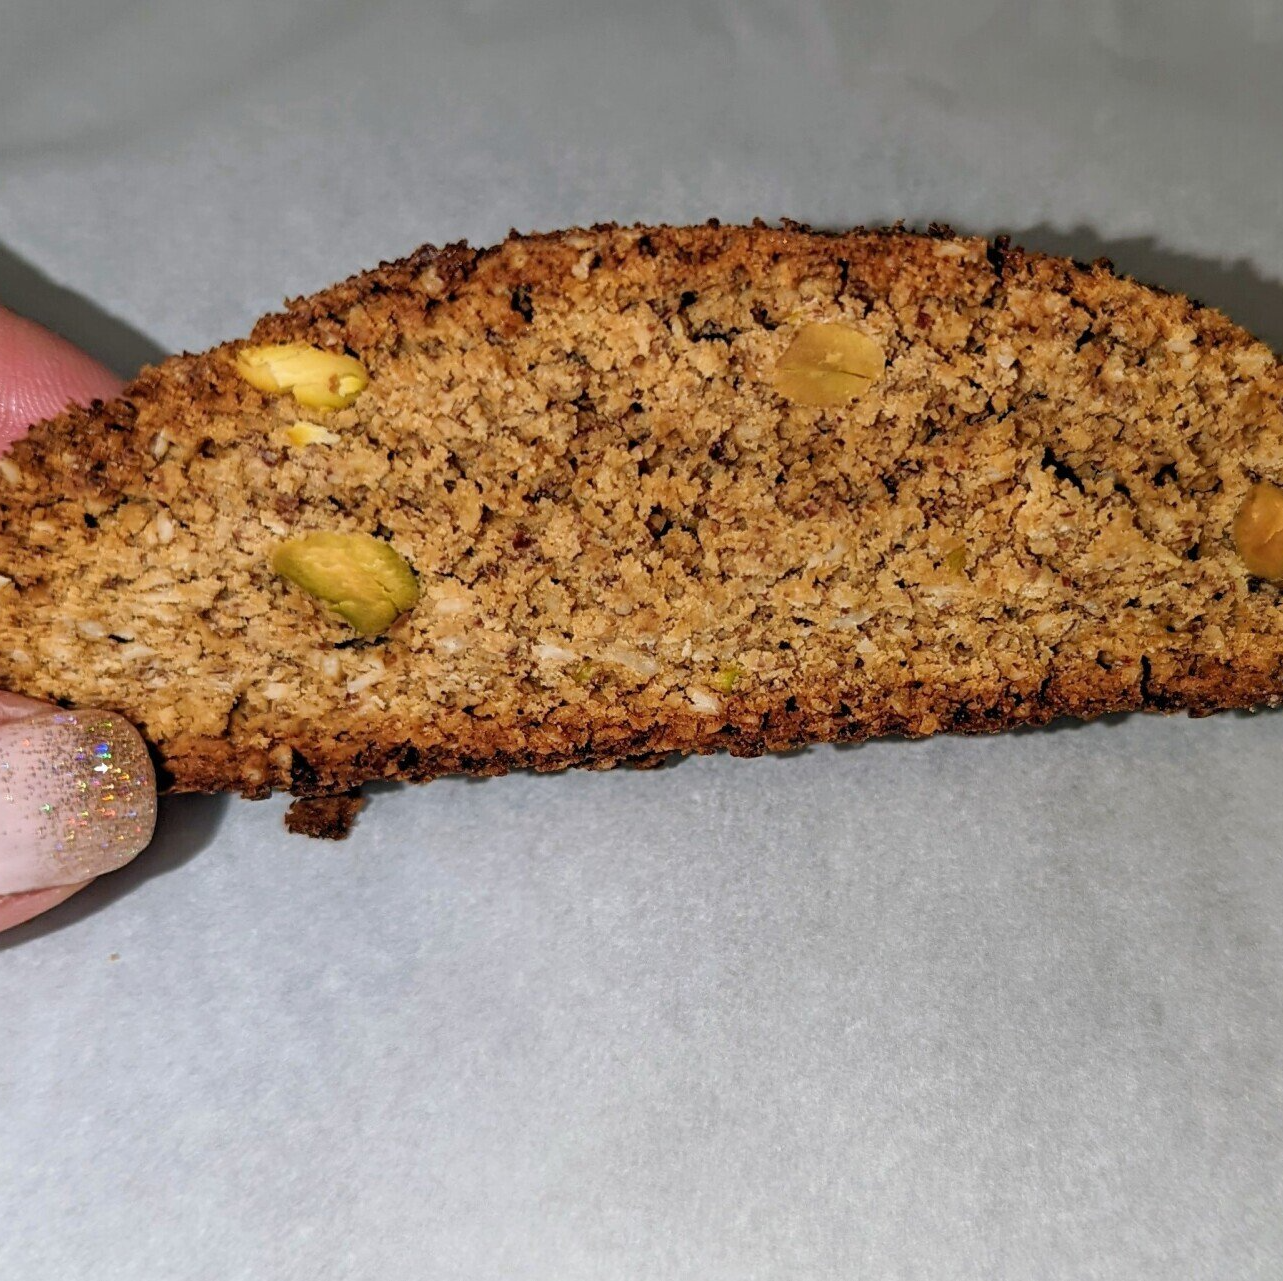
- After 30 minutes, remove the biscotti cookies from the freezer, place on a chopping board, and with a sharp knife slice into 1/2 to 3/4-inch slices.
- Place them back on the baking sheet and bake for an additional 20 minutes. Then set aside.
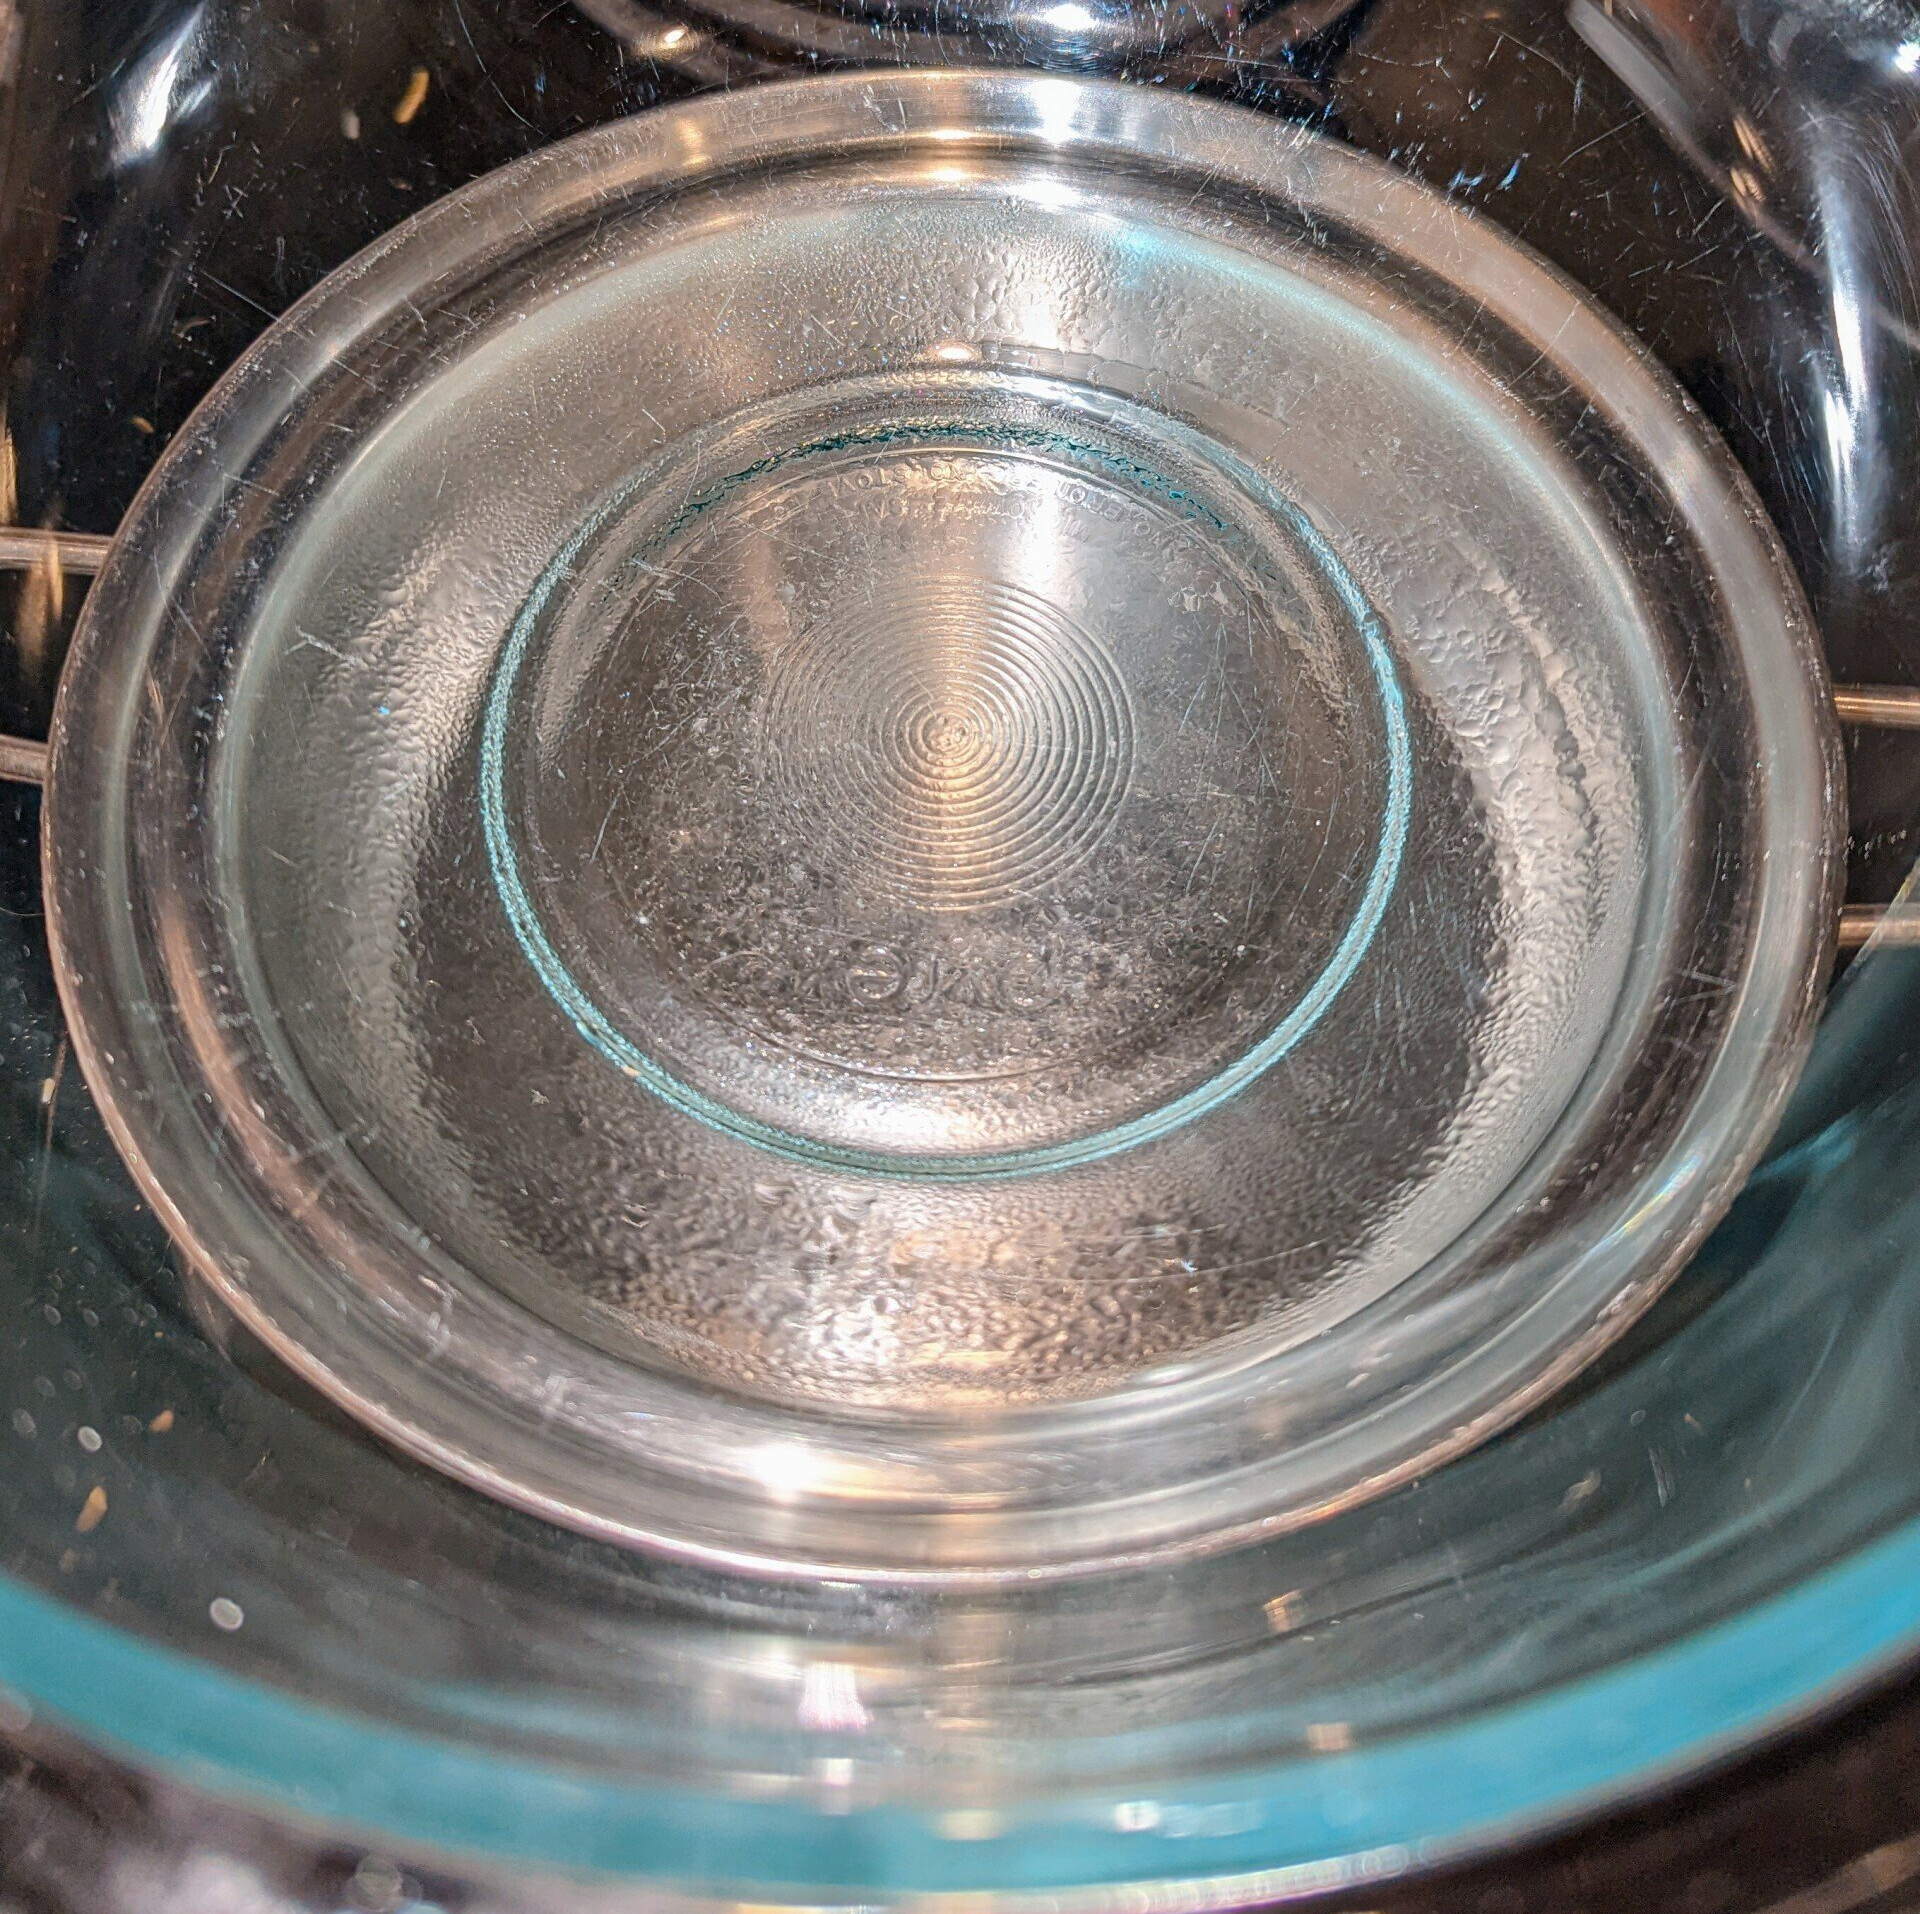
* fun fact! * biscotti comes from the Latin word biscotto which means "twice-baked." - Fill your pot so it is half full with water and bring the water to a slow boil.
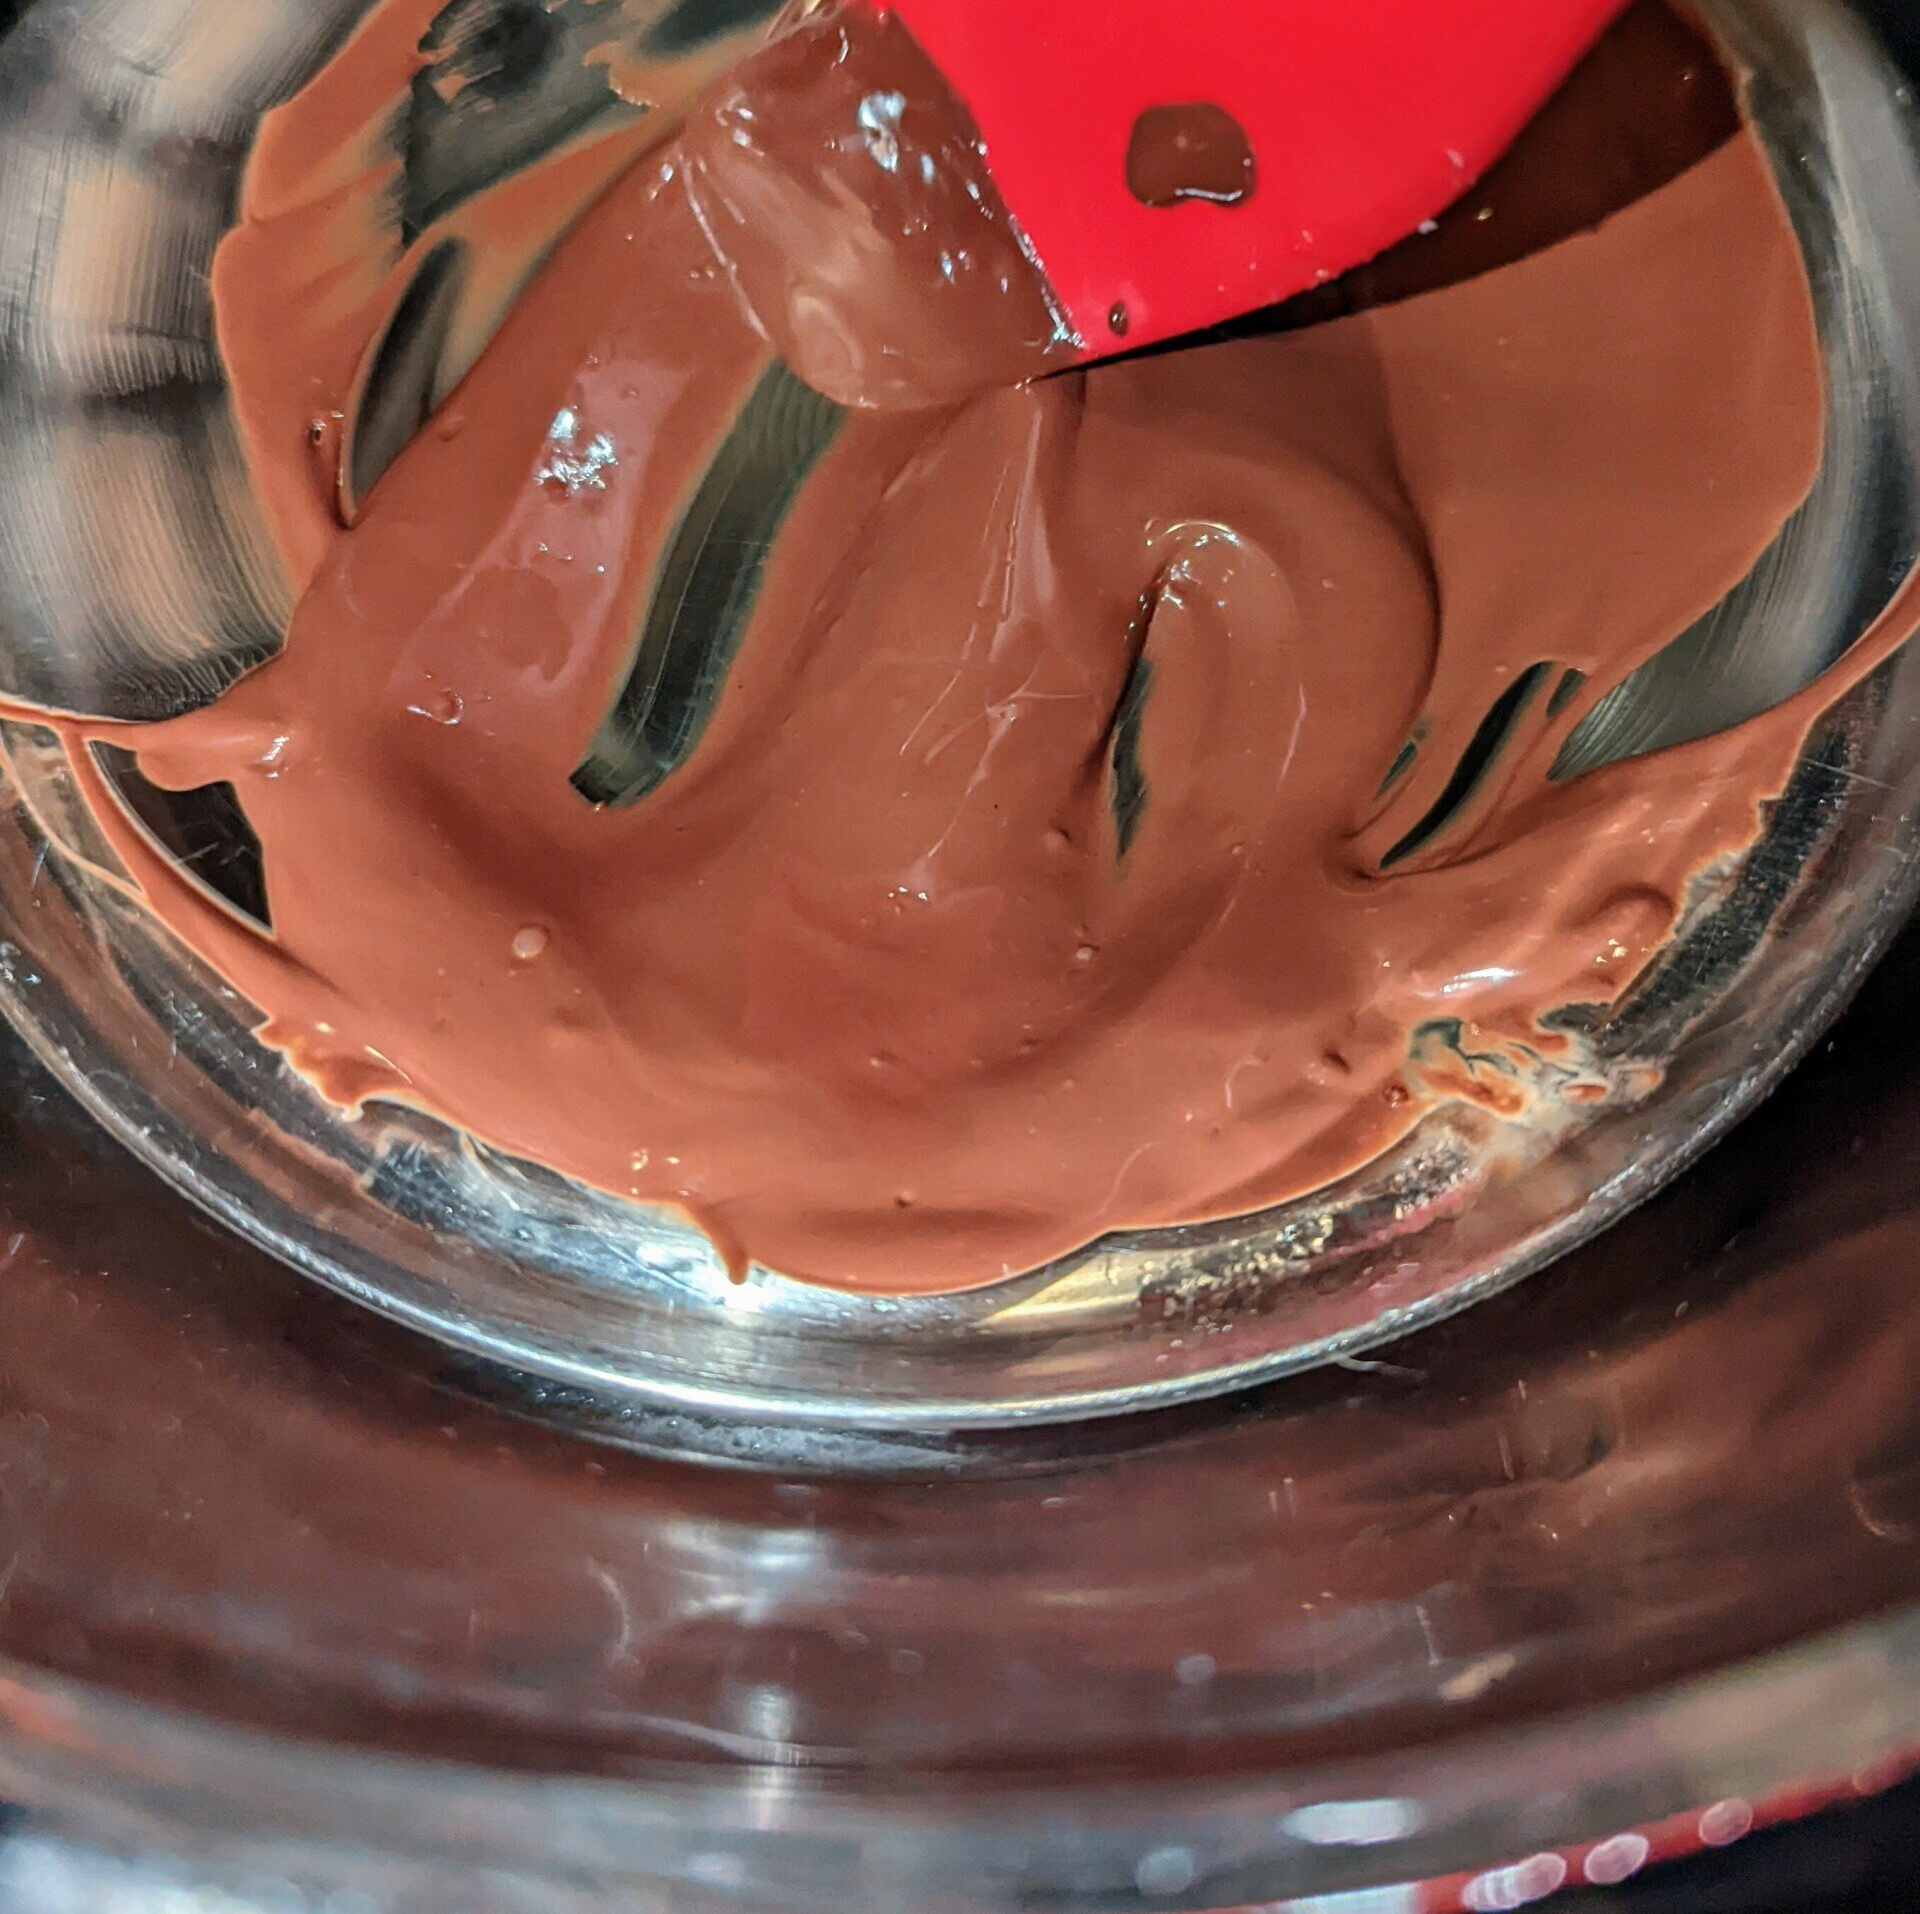
- Place a large glass bowl on top, add the chocolate chips and coconut oil and keep mixing until you've got a smooth and shiny chocolate dipping sauce.
- Dip the biscottis flat side down to coat the bottom with chocolate, place on a dish lined with parchment paper to set.
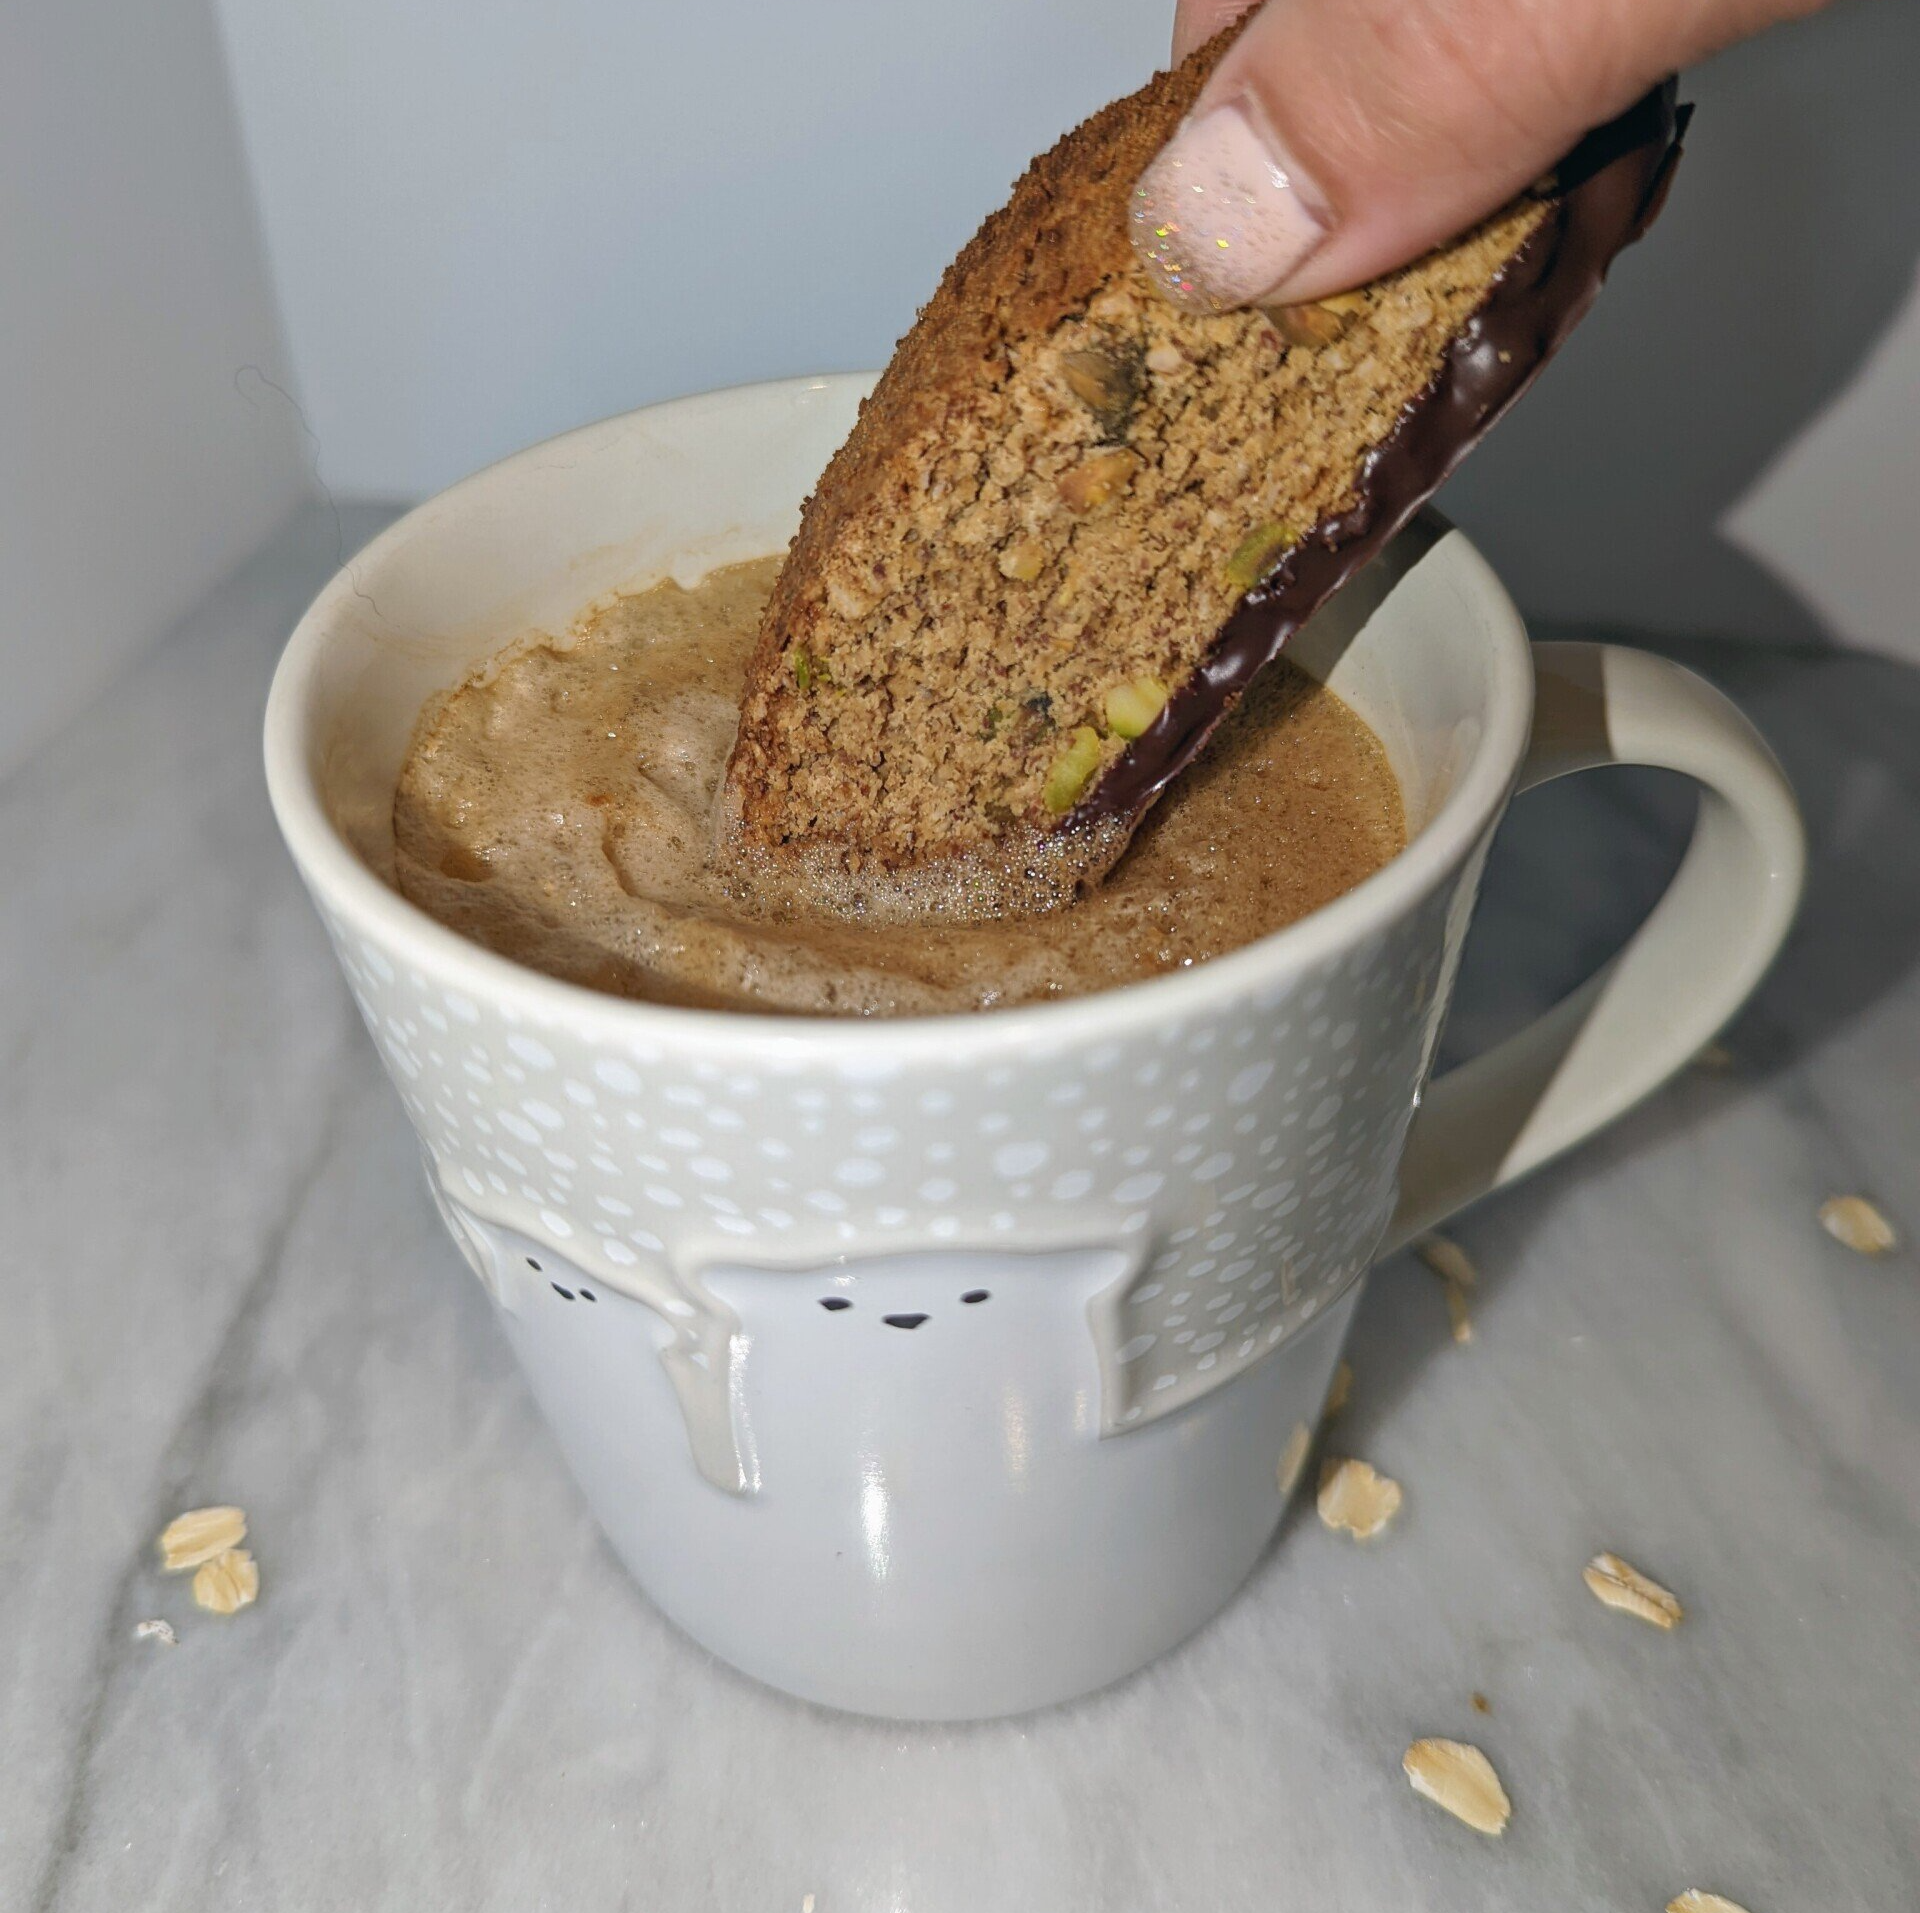
- Once the chocolate is set, you're ready to enjoy for dipping in your favorite coffee! The cookies will stay good for up to 2 weeks refrigerated and 3 months frozen.
